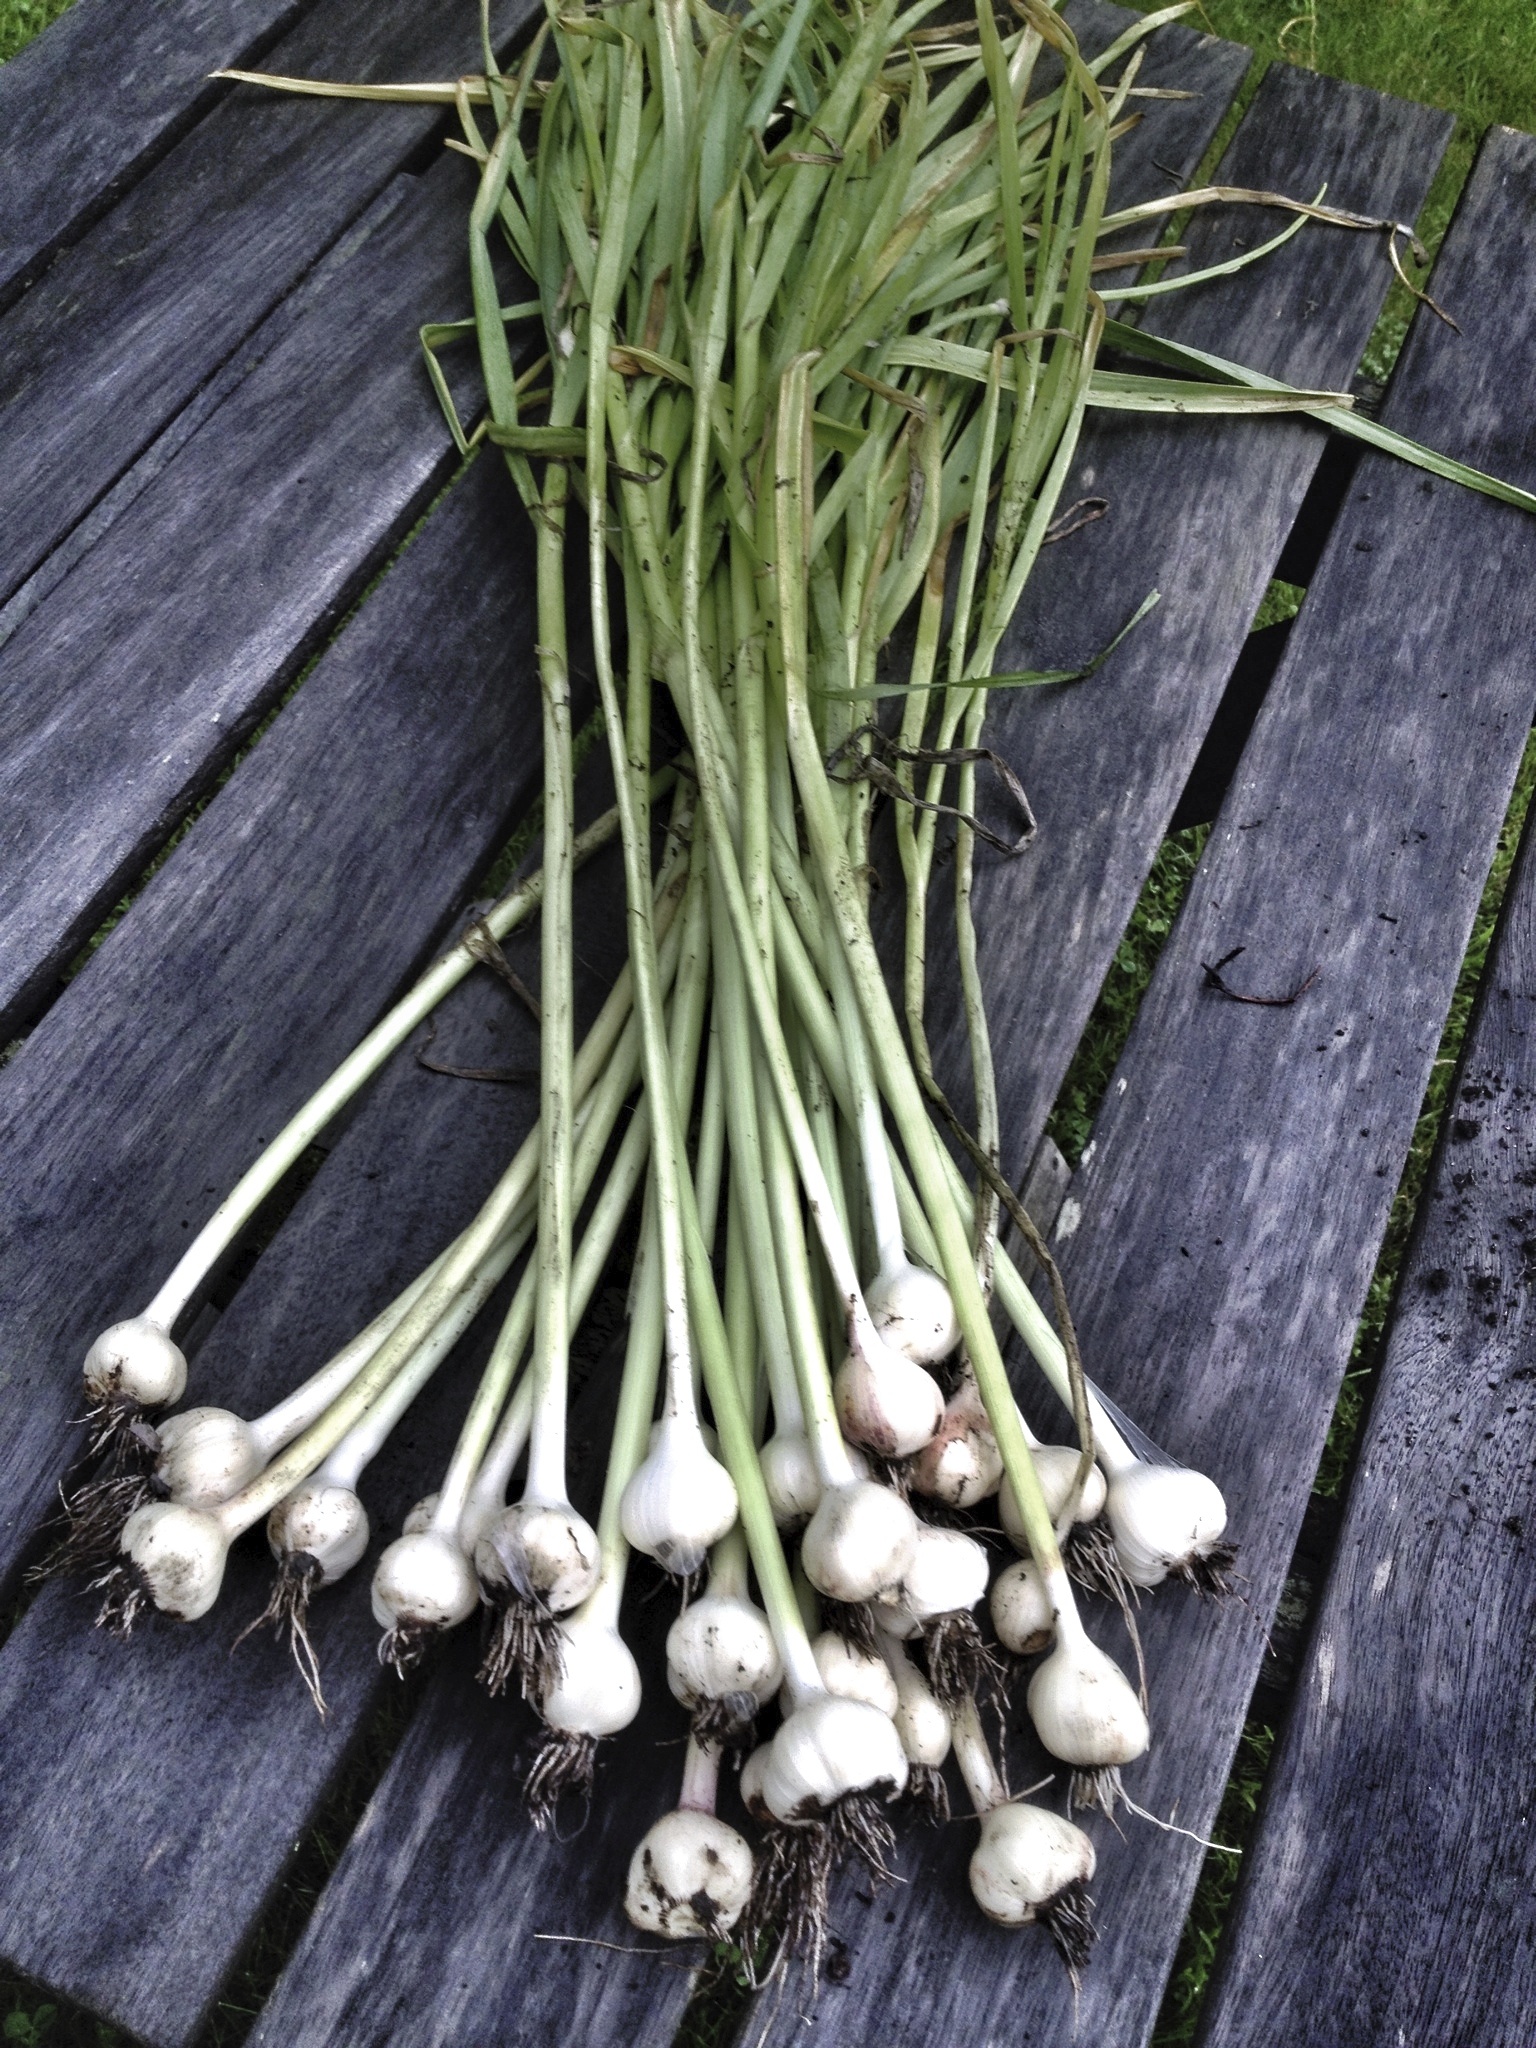
I do not consider myself directionally challenged, however when I harvested our garlic over the weekend it appears I have trouble with up and down. Look at the photo and notice how all the heads of garlic swing to the right. When you plant garlic you separate a head into individual cloves then stick them in the ground late fall – pointy end up. After that you forget about it all winter, snap off the scapes in the early summer, and harvest the bulbs in July (one clove grows into one head). It’s really pretty easy. Or so I thought until I began pulling up heads which were somewhat stuck because of their right hooks.

In our house we go through fifty pounds of garlic a year. You’d think we were brushing our teeth with it or suffered from a vampire infestation in the basement. If someone ever forced me to get rid of all the herbs in my cupboard I would rip up the floorboards and jam heads of garlic down where no one could see. I would become a garlic horder.

Our family uses garlic granulated, frozen, but most of all fresh. We slip it into almost every dish. So this past fall I committed to growing a serious crop of garlic to try and minimize what we buy at the farmer’s markets and stores. We shall see how long it lasts.

Not all of my garlic was twisted. Heck, I didn’t even plant everything I harvested. There was a surprise crop (above) which volunteered itself from an old garden in our yard. We must have garlic elves in our yard looking out for our extreme garlicy needs.

As I’ve mentioned before I am not the world’s best gardener. If you want to know more about growing garlic check out Margaret Roach’s blog. My seed garlic was purchased from Dan, the garlic guy, at the Amherst Farmer’s Market. Directional disclaimer – Dan’s instructions do say plant the garlic cloves pointy end up. So it wasn’t his fault this year’s garlic crop was wacky.

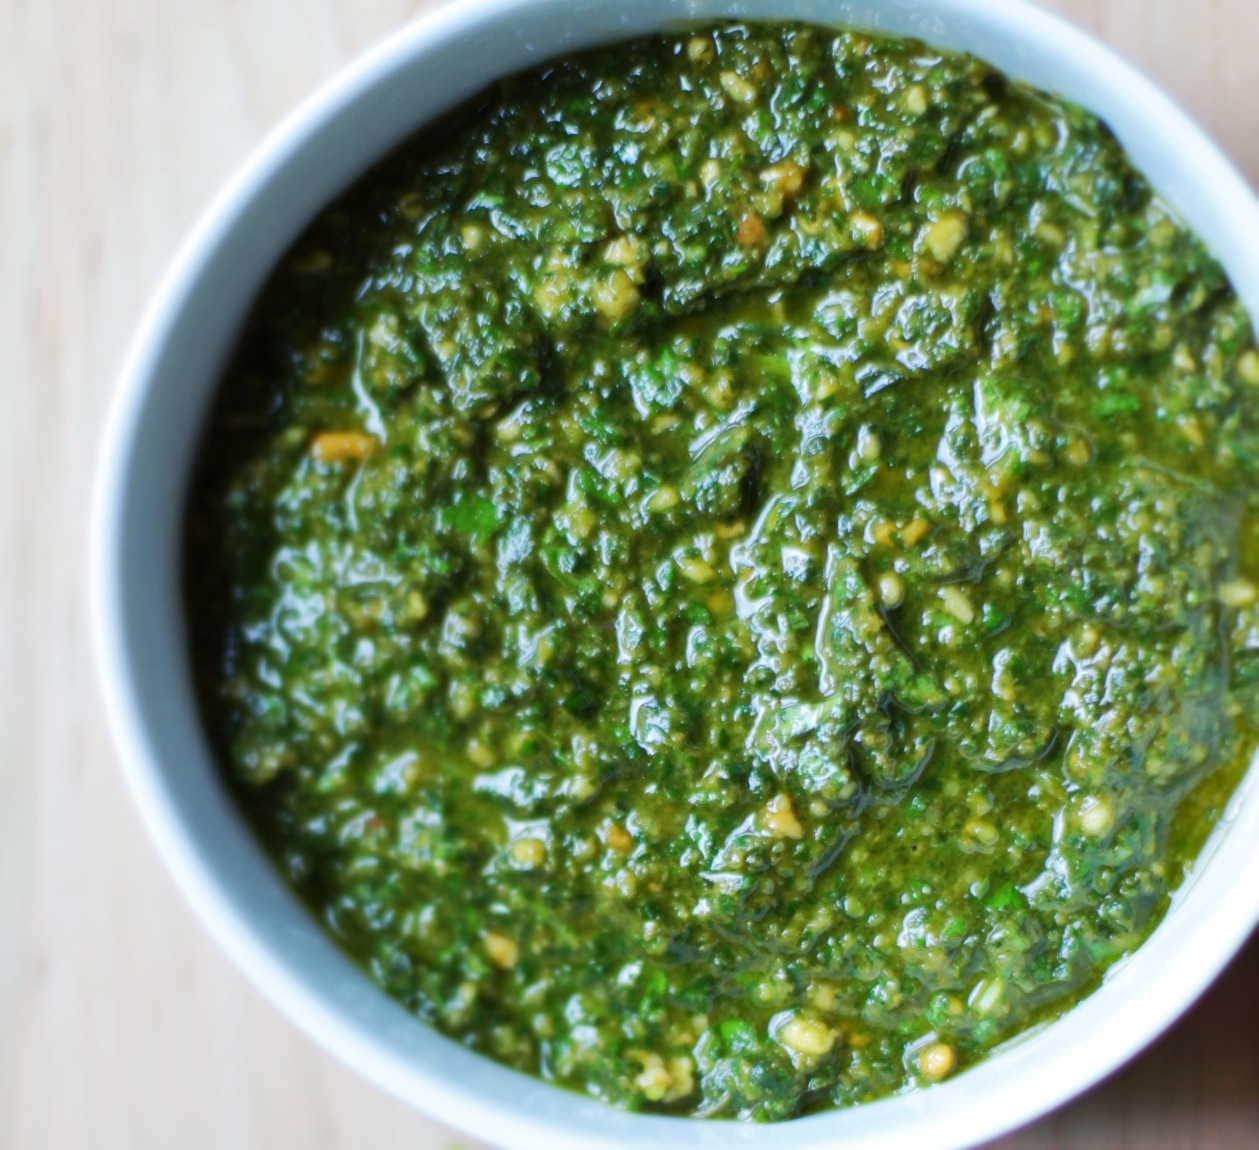
After the garlic harvest I make a huge batch of pesto. The basil is usually ready (if I didn’t dawdle in the spring getting it planted) so I just have to make sure there are plenty of pine nuts and olive oil on hand. This is not a classic pesto where I carefully grind everything together with a giant mortar and pestle. Nope, my mini food processor does the trick – zip, zap, zoop.

I’m not going to give you portions because everyone’s tolerance for garlic varies. We use 15-24 cloves of garlic for a small batch of pesto (2 cups) which might be overwhelming to some. My rule of thumb is have a loaf of bread next to you and taste as you go, adjusting the garlic-basil-olive oil-nut ratio.

Basic Pesto
Fresh garlic, peeled
Basil leaves
Pine Nuts (or almonds or walnuts)
Extra Virgin Olive Oil
Shredded Parmesan cheese (optional)
I start by putting in what seems a “normal” amount of garlic – 2-4 heads worth, depending on their size. We like our pesto to have bite. Fast spin in the food processor to roughly chop the garlic. Then in goes some olive oil and as many basil leaves as I can jam into my mini processor. Whizz some more and taste. Usually it takes several go rounds to add enough basil. I taste little spoonfuls of the evolving pesto on bread or plain crackers as I go. When it gets close to perfect I add the pine nuts, since they are soft and can disappear if you add them sooner. I pulse until they are chopped but haven’t disappeared. Throughout this process I drizzle in olive oil to keep the mixture slightly loose. It’s not soup (though you can add pesto to soups), nor should it be paste unless you’re planning on using it as such. You are in charge and running this food processor after all.
When it tastes good to you, scoop out the finished pesto and cover with a thin layer of olive oil to keep it from oxidizing. Or freeze in small containers (I sometimes use an ice cube tray), again with a small layer of olive oil on top. We add cheese at the table since some of us don’t do well with dairy.