There are times when I forget how much bravery and faith it takes to step into the kitchen some days.
No one is born knowing how to cook. Everyone knows how to eat from day one, but producing the meals which get consumed over a lifetime is a learned skill. Some people master those skills early on and for them cooking becomes like a second language. Others acquired their culinary skills as needed – when they get their first apartment or in my Mom’s case, when she married and had a family to feed. I’ve noticed that for some of those late kitchen bloomers the joys of cooking are abundant while others simply tolerate their time in the kitchen because there is a need both to eat and feed people. For me being around food and cooking is akin to breathing. I do it unconsciously. There is a comfort level I’ve attained both from my love of food as well as from the hours and hours I’ve stood in front of a stove.

I don’t want to sound cocky because it wasn’t always this intuitive. I enjoyed learning to cook, but I also had to work at it. There were such spectacular failures along the way its amazing I ever took up a spatula again. For some people completely losing their eyebrows in a gas oven lighting fiasco might have turned them away from food, or at least from cooking on gas appliances, but not me (and it turns out eyebrows do grow back and you really shouldn’t wait three minutes to strike the match once the gas is on). There was a memorable visit to my parent’s kitchen from the Manlius Fire Department after I had accidentally set the stove top on fire using my new wok. The disasters have given me pause, but not frightened me out of the kitchen. There have also been some foods I’m not entirely comfortable around. Ok, I’ll say it – there are a few foods which have scared me because they were strange (offals) or dangerous (spun sugar) or had a reputation for being complicated and temperamental (chocolate). Yup, I said chocolate.
Chocolate and I go way back. I adore chocolate so much I think it should have its own line on the food pyramid. I consume some nearly every day. When we were first dating my husband noticed this obsession and asked what would happen if chocolate were illegal. I replied that he would be visiting me in jail with a file baked into a vanilla cake. Really, did he think if chocolate were illegal I would abstain from it??? Silly man. Life without chocolate? Unthinkable. I love chocolate. The thing is chocolate in some forms can be temperamental. It can seize if you add liquid at the wrong moment or turn grainy if not heated properly. There are so many ways it can misbehave. More to the point I just hadn’t tried to make many chocolate desserts beyond the classic Nestlé Toll House Chocolate Chip cookie. Even my Mom who doesn’t love being in the kitchen is able to whip up a chocolate mousse which is so velvety smooth and deliciously chocolatey you ask for seconds and then thirds. I was a chocolate wuss.

This hesitancy towards chocolate was quickly noted by my two bosses at the Leaf ‘n Bean Café after they hired me as their baker. Alan and John explained they expected me to have at least one chocolate item on the dessert menu every single day. “Sure, no problem,” I told them as I inwardly said to myself, “Shit, shit, shit what am I going to make?” One of the waitresses took pity on me and gave me the recipe for the best chocolate cake ever. A regular customer at the café heard about my conundrum and slipped me the recipe for her no fail brownies. What I quickly learned was you didn’t need to be afraid of chocolate – you just need a good recipe and a little faith.
It turns out that most chocolate desserts aren’t hard or scary. I’ll grant you making fancy chocolate that needs to be tempered is tricky, but there are so many chocolate dessert recipes which are “Easy Peasy” as Jamie Oliver says. If you are craving gourmet chocolate bonbons there are plenty of fabulous chocolatiers out there who can make them for you. I am particularly fond of L.A. Burdick. Beyond the fancy stuff I suggest you take a deep breath, find a good recipe, and head into the kitchen.

For everyday chocolate consumption it doesn’t get much simpler than brownies. Practically fail proof*, quick to make, as well as delicious, home-made brownies are as easy to whip up as their boxed Betty Crocker cousins. Brownies are the all American chocolate equivalent of apple pie, and like apple pie you can notch them up by serving them à la mode.
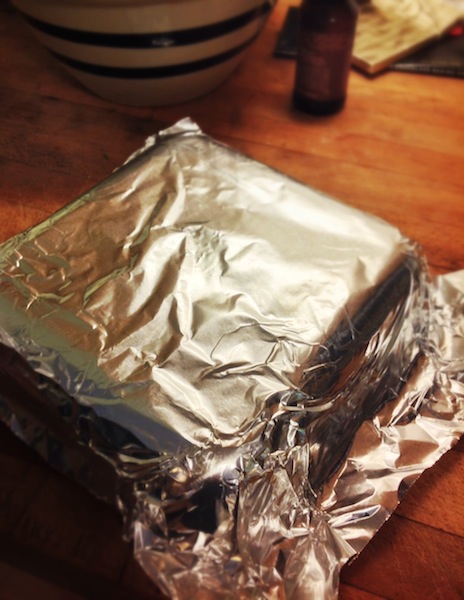
Here’s a tip from Maida Heatter on how to line your brownie pan with foil. Spread a sheet of foil over the outside of the pan and press the foil to follow the shape of the pan. Then slide the foil off and flip the baking pan over. Gently nudge the pre-formed foil into the inside of the pan and secure the ends by wrapping them over the edge of the pan.
Brave Brownies
I wish I remembered the customer’s name who gave me this recipe all those years ago. I’d like to thank her all over again for the kindness she showed to me when I was learning to navigate my way into a daily routine of chocolate desserts. Perhaps these should be called Thank You Brownies.
1 stick of unsalted butter (1/2 cup)
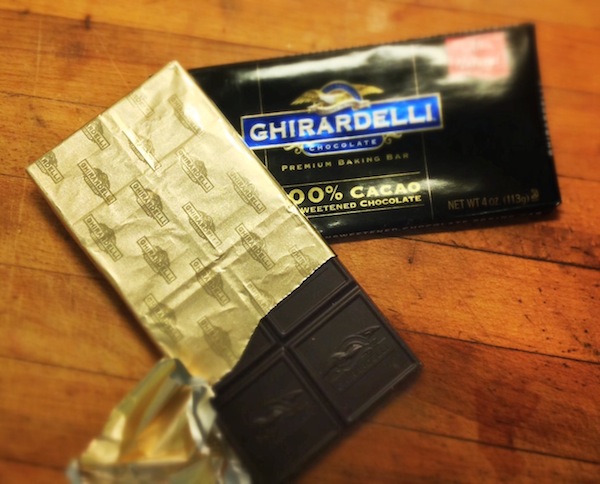
2 ounces unsweetened chocolate, roughly chopped
1 cup sugar
2 eggs
1 teaspoon vanilla extract
1/2 – 2/3 cup flour (moist to cakey)
1/4 cup cocoa (optional)¹
pinch of salt
a handful or two of extra bits like chocolate chips, chopped walnuts or dried cherries
Preheat the oven to 350ºF. Flip over a 8″ x 8″ baking pan and smooth a sheet of foil over the outside – I have gotten very fond of non-stick foil recently. Gently lift the foil which is now shaped like your pan place it into the inside of the baking pan. Since the foil has the overall shape of the pan it should be easy to snug it in. The foil will make removal of your finished brownies, and clean up, a snap.
In a small saucepan heat the butter and unsweetened chocolate until melted over a low heat. Give it a stir every so often as they’re melting, then set aside to cool when both the chocolate and butter are melted.
In medium bowl beat together the eggs, sugar and vanilla. Add the melted butter and chocolate. Finally stir in the flour, cocoa (if using) and salt. I beat it 50 times which is the number from the back of a box of brownie mix. Silly, but one of my quirks. You can simply beat until combined and then pour into the pan. If you want to add any “extra bits” you can either fold them in or sprinkle them on top.
Bake 22-27 minutes or until a toothpick inserted into the middle comes out with just a few crumbs on it. Cool for at least 20-30 minutes before trying to cut because warm brownies will cling to the knife.

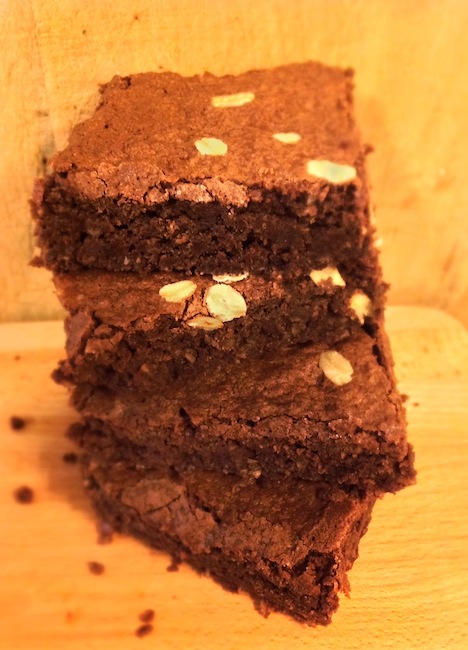
Gluten Free Brownies
Many years ago I worked with a food stylist who was starting to transition from food styling to writing cookbooks. I remember three things about Carol Gelles – her generosity to her assistants; her telling me about the deal she had with God when it came to dirty dishes – she washed and he dried; and lastly her recipe for oatmeal brownies. Back then I didn’t think of them as gluten-free, but they are made with oat flour so this is a perfect alternative for any of your friends who have an intolerance or sensitivity to gluten. If someone has a severe allergy make sure you get oats that say they are gluten free. This version is pretty much the same brownie recipe if you look at them side by side.
1 stick of unsalted butter (1/2 cup)
2 ounces unsweetened chocolate, roughly chopped
1 cup sugar
2 eggs
1 teaspoon vanilla extract
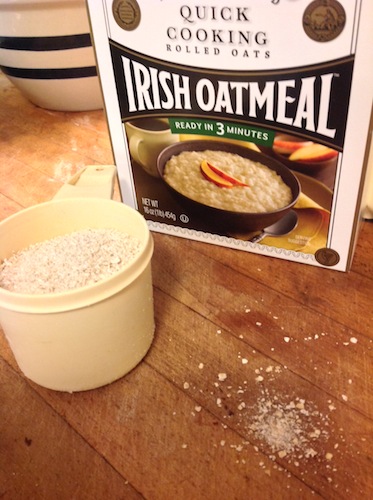
3/4 cup oat flour (made from 1 cup oatmeal)
1/4 cup cocoa (optional) ²
pinch of salt
a handful or two of extra bits like chocolate chips, chopped walnuts or dried cherries
Preheat the oven to 350ºF. Flip over a 8″ x 8″ baking pan and smooth a sheet of foil over it. Gently lift the foil off then gentle the foil into the inside of the pan to make getting them out of the pan easy.
In a small saucepan heat the butter and unsweetened chocolate until melted. Give it a stir every so often until both are melted, then set aside to cool while you put together the other ingredients.
In medium bowl beat together the eggs, sugar and vanilla for three minutes. To make the oat flour process the oatmeal in a food processor until you have flour 3-6 minutes depending on your machine. Add the oat flour and salt to the melted butter and chocolate. Stir that mixture into the beaten eggs and sugar. If you want to add any “extra bits” mix in a few handfuls into the batter or sprinkle them on top.
Bake 33-38 minutes or until a toothpick inserted into the middle comes out with just a few crumbs on it. Cool for at least 20-30 minutes before trying to cut because warm brownies will cling to the knife.
* I will give someone out there the benefit of the doubt that they could somehow screw these up, if only to be perverse or because they tried to mess up.
¹ Having made these brownies for every school event since writing this post I have decided I really like a small amount of cocoa added in. Since cocoa is similar in texture to flour you may want to consider reducing your total amount of flour used so the brownies don’t get too cake-y. Also my preferred brand is Ghiradelli, which while more expensive than regular cocoa is well worth the extra cost when it comes to taste.
² I have been adding a small amount of cocoa to the oatmeal variation too since it is gluten free and similar in texture to flour. As I mentioned in the previous recipe my preferred a high end brand such as Ghiradelli.
PS – These brownies have been so easy to make I’ve been making them (and tweaking them) twice a week for the last two months. One of my favorites was when I had some left over cocoa powder and chocolate truffle filling. I chilled the chocolate truffle filling then chopped it into little chunks and mixed that along with the Valrhona cocoa powder into the batter. Because I didn’t think to take some of the flour out to compensate for the cocoa I added these brownies were more on the cake-y side, but the chocolate flavor was amazing. Here is one of my variations –