Turn Up the Heat

We’ve been thinking a lot about driving lately. Isabelle takes her driving test today. Russell is studying for his permit test. Which means everyone is learning about stuff they didn’t know. Like how to parallel park (trickier than you might think), how tinted the windows of your car can be (35% who knew?), and what to do if your car starts to skid out of control (don’t break and steer into the skid). The last one got me to thinking that if you should turn your car into a skid does that mean when the weather gets nasty-hot outside should you turn up the heat in your food?

Last week the weather was brutal. One friend wrote on her Facebook wall –

“Even in this putrid, humid heat, I’m reading all kinds of status updates of people running 5 miles, biking, etc…and I’m just sitting here thinking how proud I was when I went and got the mail without fainting.”

That pretty much sums it up, surviving this most recent heat wave feels like an accomplishment. The question is how do you cook dinner when walking into the kitchen causes you to break a sweat? Do you serve popsicles and plates of uncooked food? In part that has been my default strategy – when the temperatures are close to 100° I stop actually cooking (which is ironic since many restaurant kitchens I’ve worked in were 101° + in the summers). But if you apply the skid rule to food then when the temperatures soar you should turn up the heat in your food rather than trying to make it colder. In counties where it is really hot the cuisines often have a spicy component to them. Think of Indian curries and tandoori or the hot jabanaro peppers used in Mexican cuisine. It’s not that everything from these cuisines will burn your tongue off, but taking a bite of something that makes you sweat seems to counteract the heat outside.

hot peppers

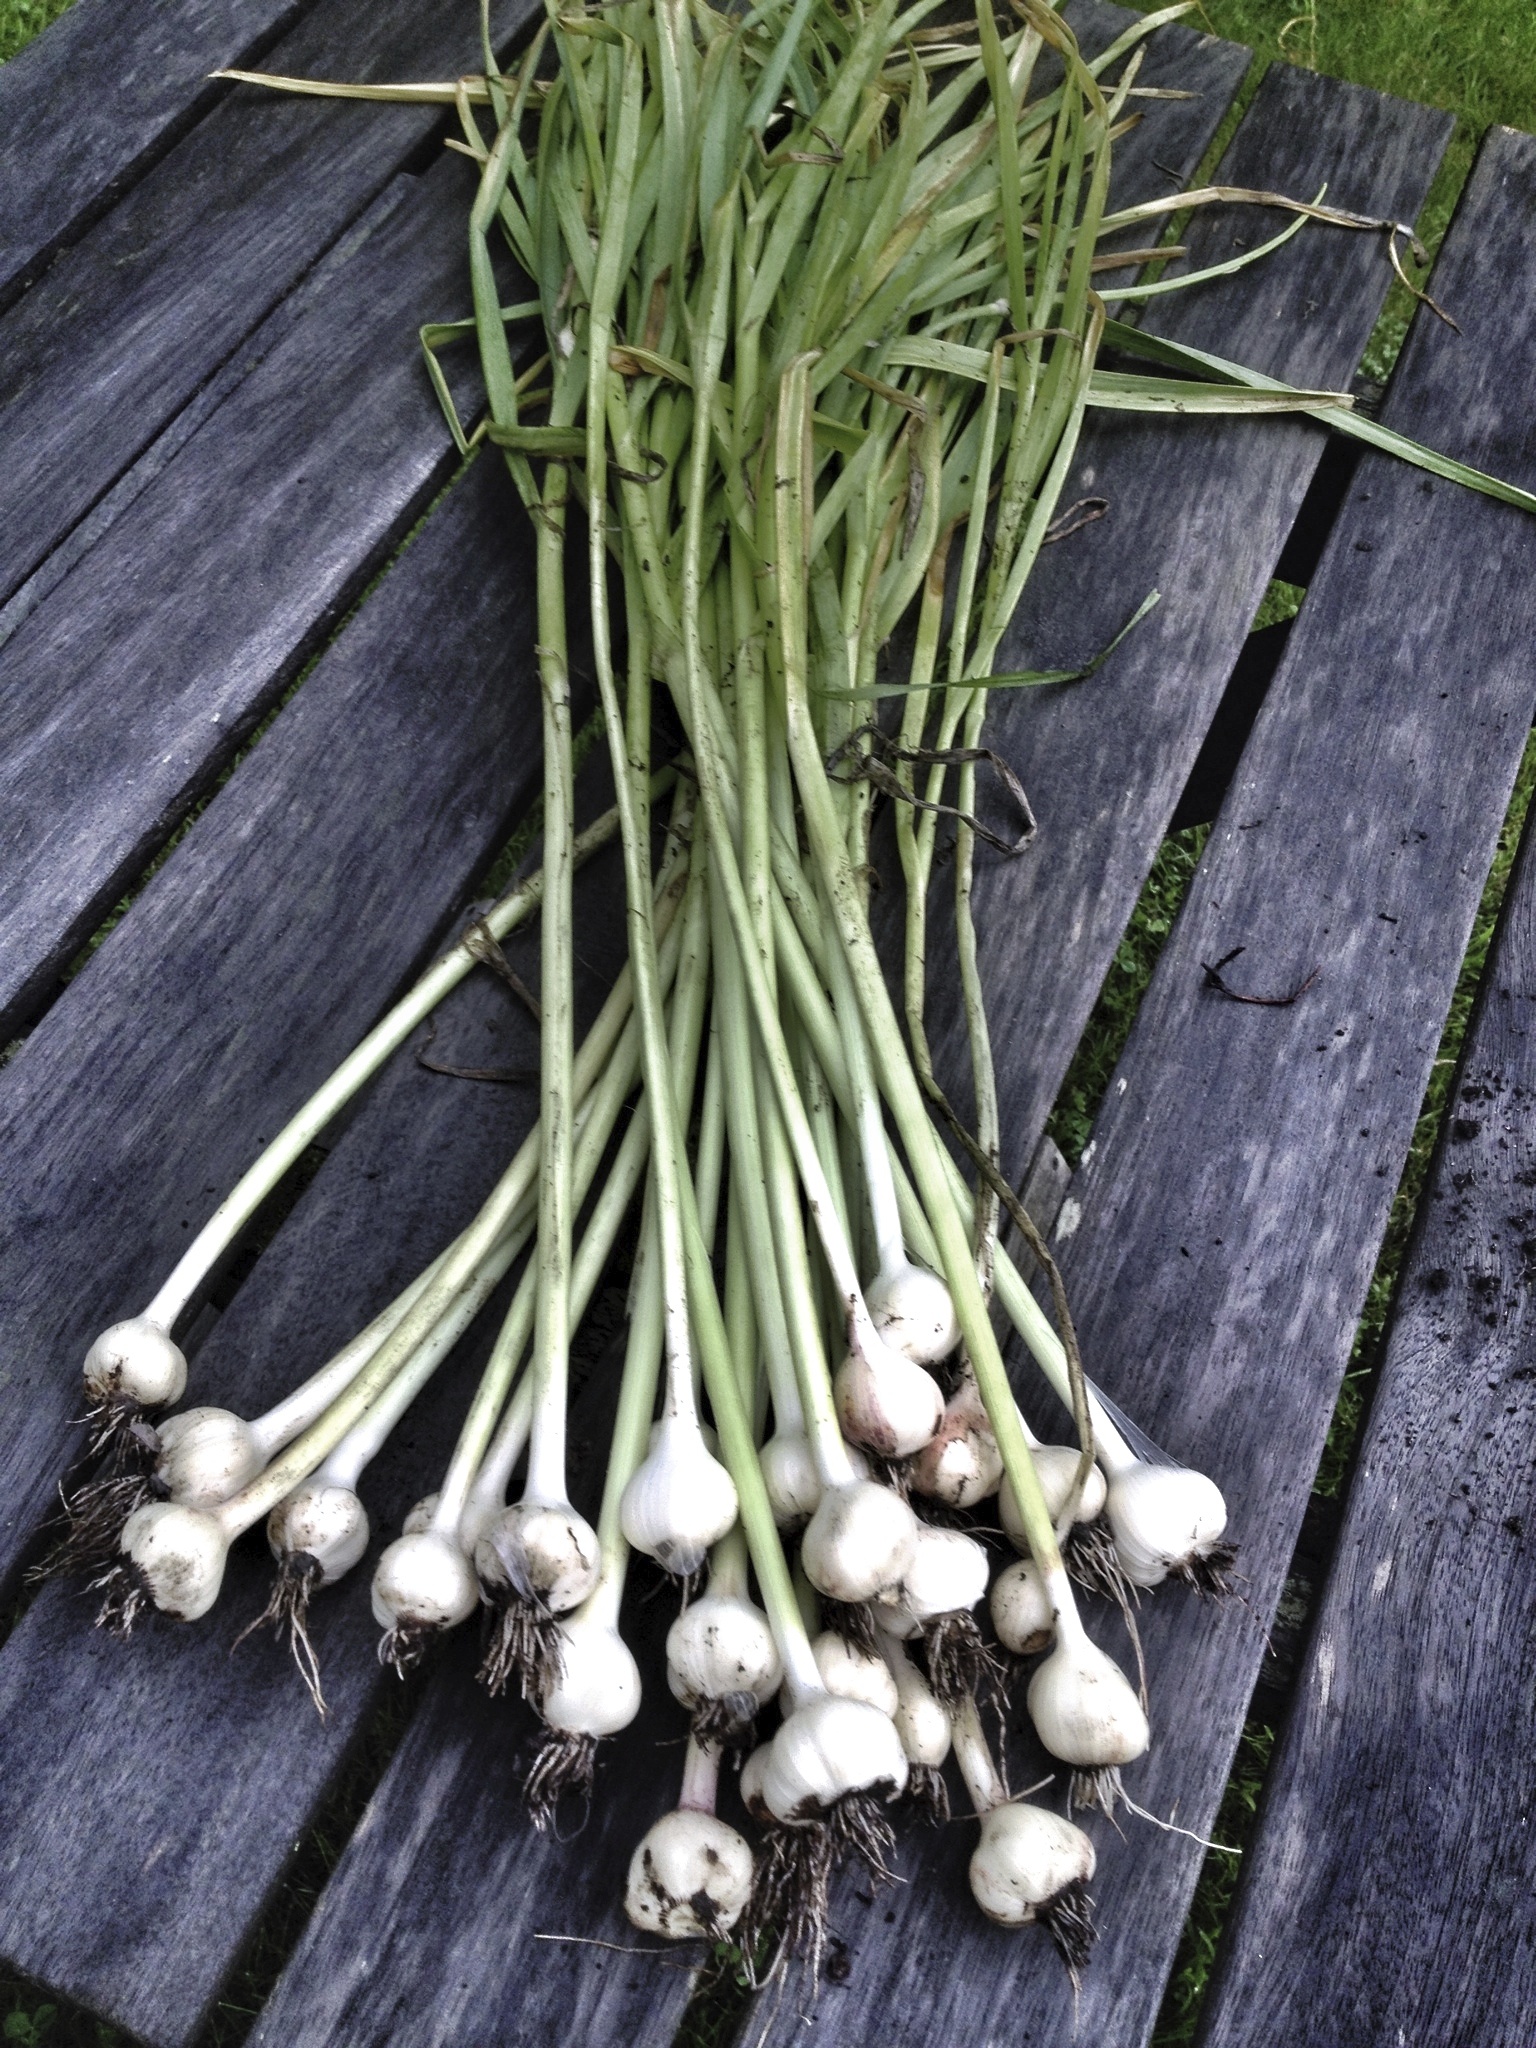
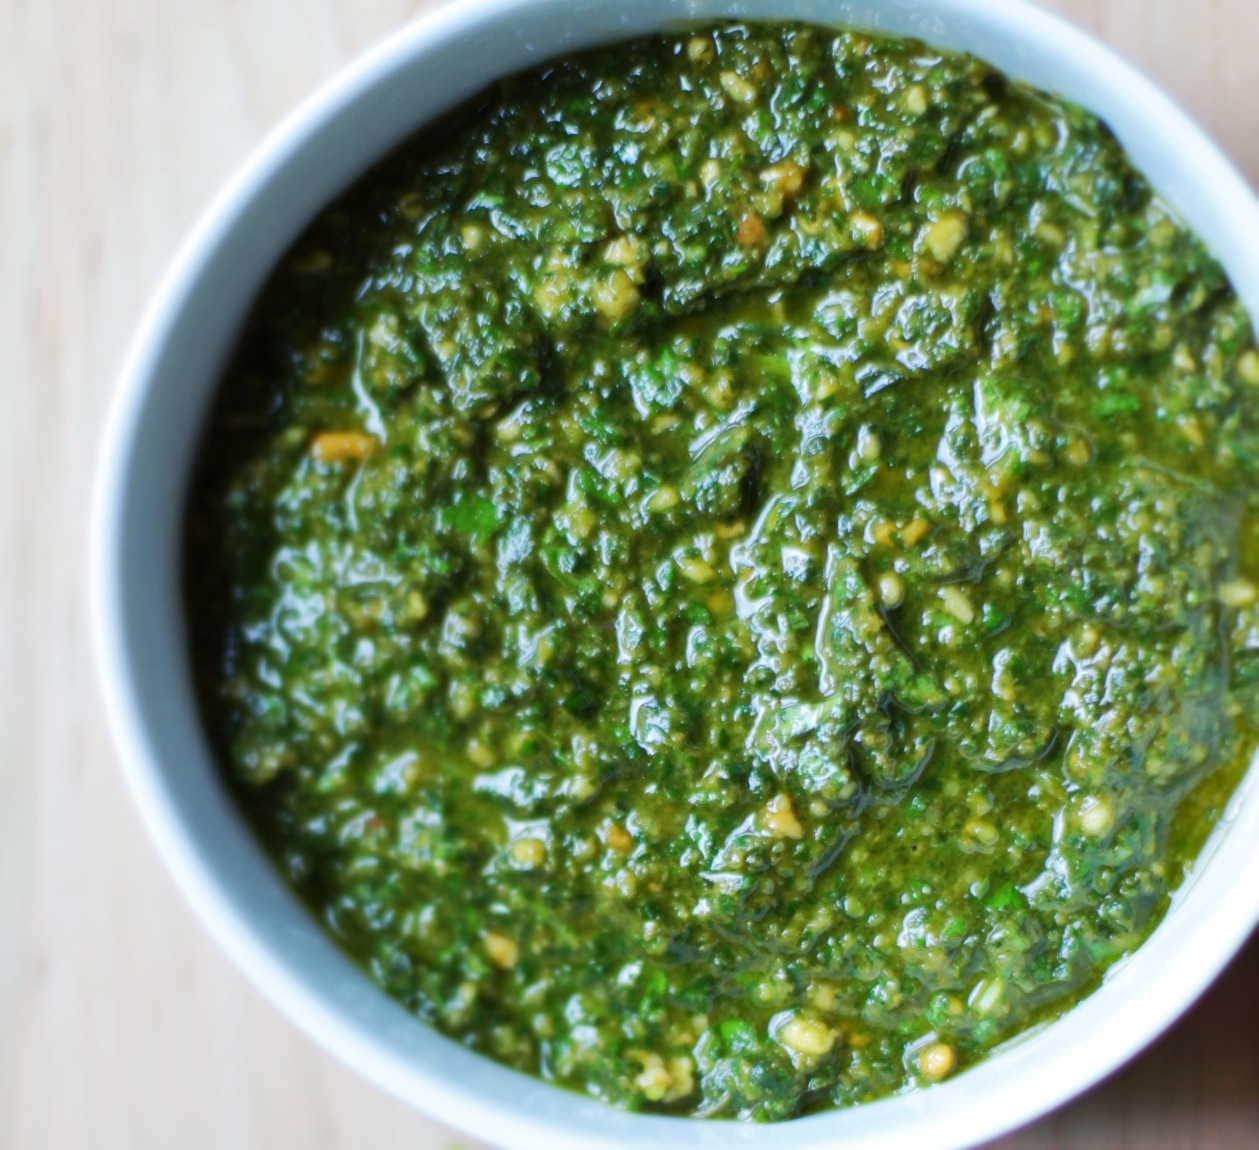
So I’ve been adding more zip and spice to our food. Extra raw garlic in the pesto, and hotter peppers in our Samosas. Samosas are savory Indian pasties meant to be served as an appetizer or snack. My gang likes them so much we make a meal of them. Our favorites are the Aloo Samosas which are filled with potatoes, peas, onions, and plenty of spices. In the winter I use jalapeno peppers and bake the samosas in the oven. The more traditional method is to fry them, which I do in the summer. I also use cayenne or Thai peppers (easy to grow or find them at most farmer’s markets) to bring up the spice level in the warmer months. Despite the main ingredient being potatoes these little pockets of yummy are full of flavor – coriander, garam masala, fresh ginger, and of course hot peppers. This recipe is a tweaked version of Julie Sahni‘s from her book Classic Indian Cooking.

Baked potato samosas

Potato Samosas

Dough

3 cups flour

1 teaspoon salt

1/2 cup solid vegetable shortening

1/2 – 3/4 cups cold water

Put the flour, salt and shortening in a medium bowl. You then want to rub the fat into the flour so you take some flour in your hand and a little shortening and smear them together. You keep doing this until all the fat has been smooshed between clumps of flour and all the flour has bits of shortening in it.  Then add around 1/3 cup of cold water and mix. Keep adding more water until the dough comes together. The amount of water depends on the weather/humidity so start slow and work up. You don’t want the dough oozing, nor do you want it crumbling. When you think you’ve got it right knead the dough for about 10 minutes. If it feels a bit dry dribble in more water. It should be as soft as a baby’s bottom when you’re done kneading. Wrap it in plastic wrap and let rest for 30-60 minutes.

stuffing samosas

Filling

1  1/2 pounds potatoes, cut into chunks (7-8 medium)

1 medium to large onion, chopped into small pieces

2 teaspoons minced fresh ginger

2 teaspoons ground coriander (or you can use the seeds)

2  1/2 – 3 teaspoons garam masala

5 tablespoons vegetable oil

2-3 fresh chilies (jalapeño or Thai), seeded and finely chopped

1-2 Tablespoons fresh lemon juice

2  1/2 – 3 1/2  teaspoons salt

1 generous cup peas, or more if you like peas

Boil the potatoes until you can easily slide a fork or knife in them. Peeling (or not) is up to you. While the potatoes are cooking sauté the onion, ginger, coriander, and garam masala in vegetable oil. Your nose will go into hyperdrive at this point. When the onions are soft, add the chilies. Depending on which chilies you use your eyes may start to water. Once the potatoes are cooked, drain them and throw them into the sauté pan with the cooked onions, you may need to crumble them with your fingers to make them smaller – you don’t want mashed potatoes, nor do you want large chunks which can break through the dough. Add the salt and lemon juice to taste. When you’ve had two or three tastes stir in the peas and taste once more.

baking samosas instead of frying

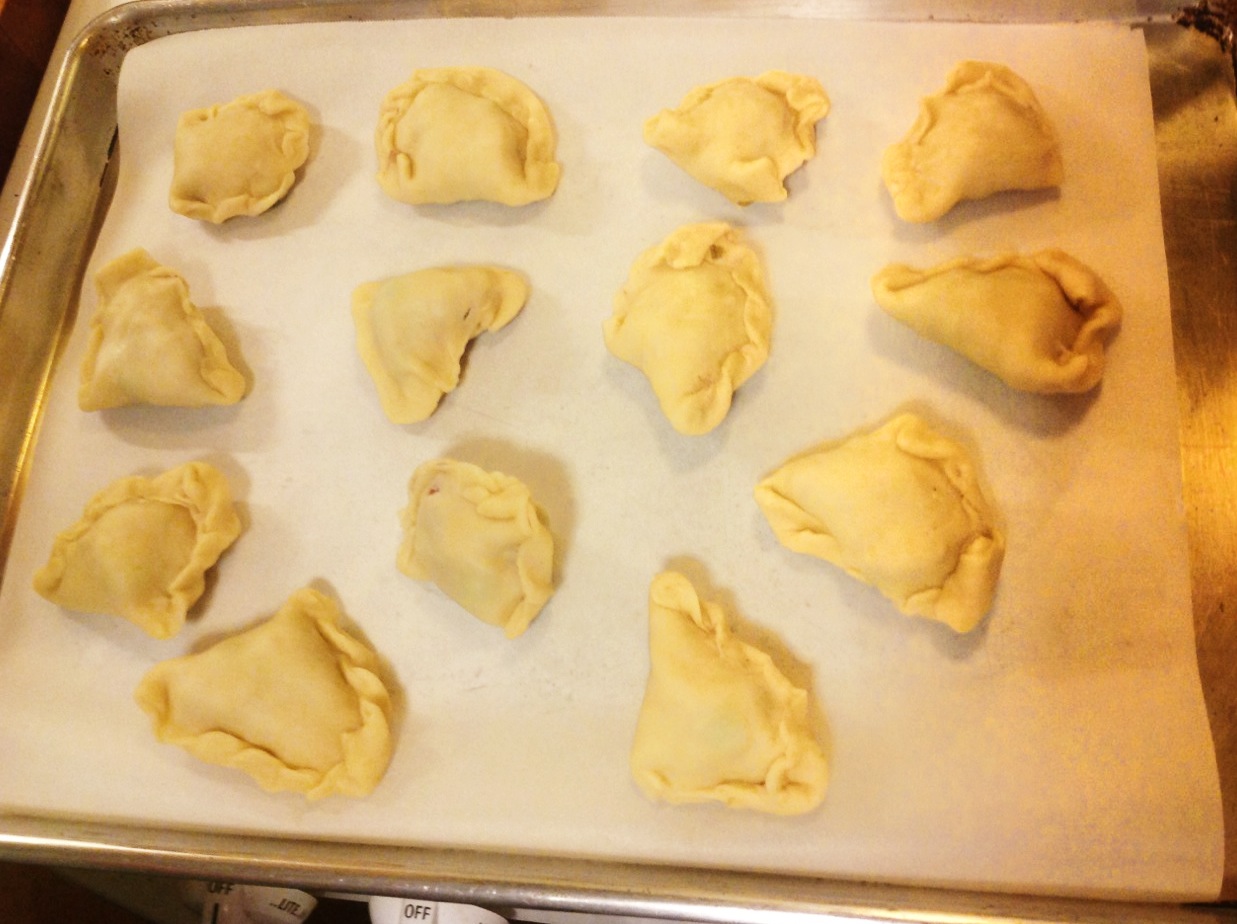
If you’re baking the samosas turn the oven on to 400°F and line a jelly roll pan with parchment paper. If you’re frying them get out a cast iron fry pan and fill it with 1″ vegetable oil. To make the samosas you’ll need some flour for rolling out the dough and a bit of water to seal the pastries. Cut off large walnut size lumps of dough and roll into a 5″ circle. Cut in half and scoop a generous Tablespoon of filling into the half circle. Dab a little water along the cut edge and pinch the seam together. Then with a little more water dabbed on the curved edge fold it over and seal. You’ll have a lumpy little triangle-esque form.

frying samosas

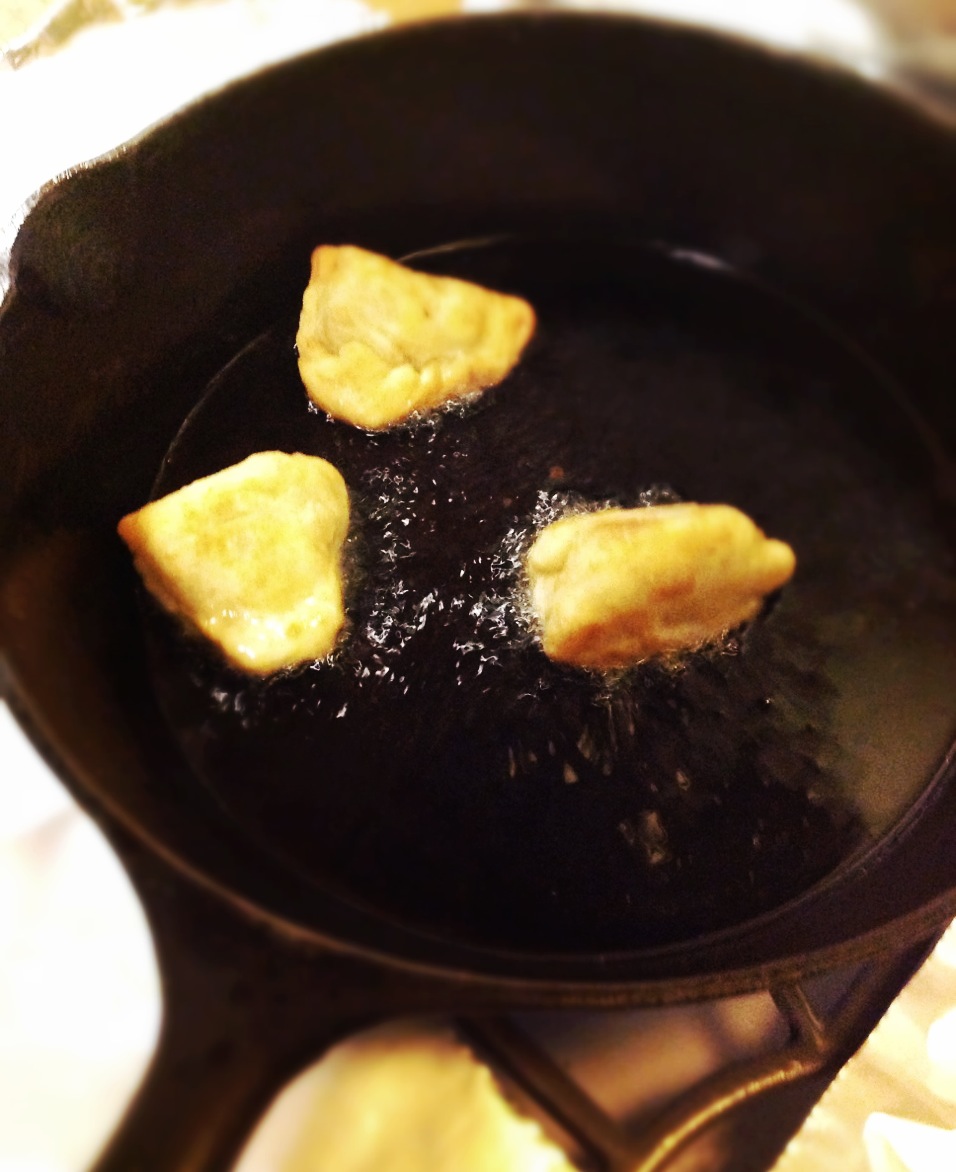
Depending on your cooking method either place samosas on the jelly roll pan or into the hot vegetable oil. If you’re baking them drizzle with olive or vegetable oil and bake 30-40 minutes, flipping once and adding more oil if necessary. The look and texture of the dough is different from baking (they’re not fried after all), however they are still very yummy.  If you’re frying them have the oil at medium high and cook until all sides of the samosa are a golden brown. Drain on paper towels. We like to serve them with chutney.

potato samosas

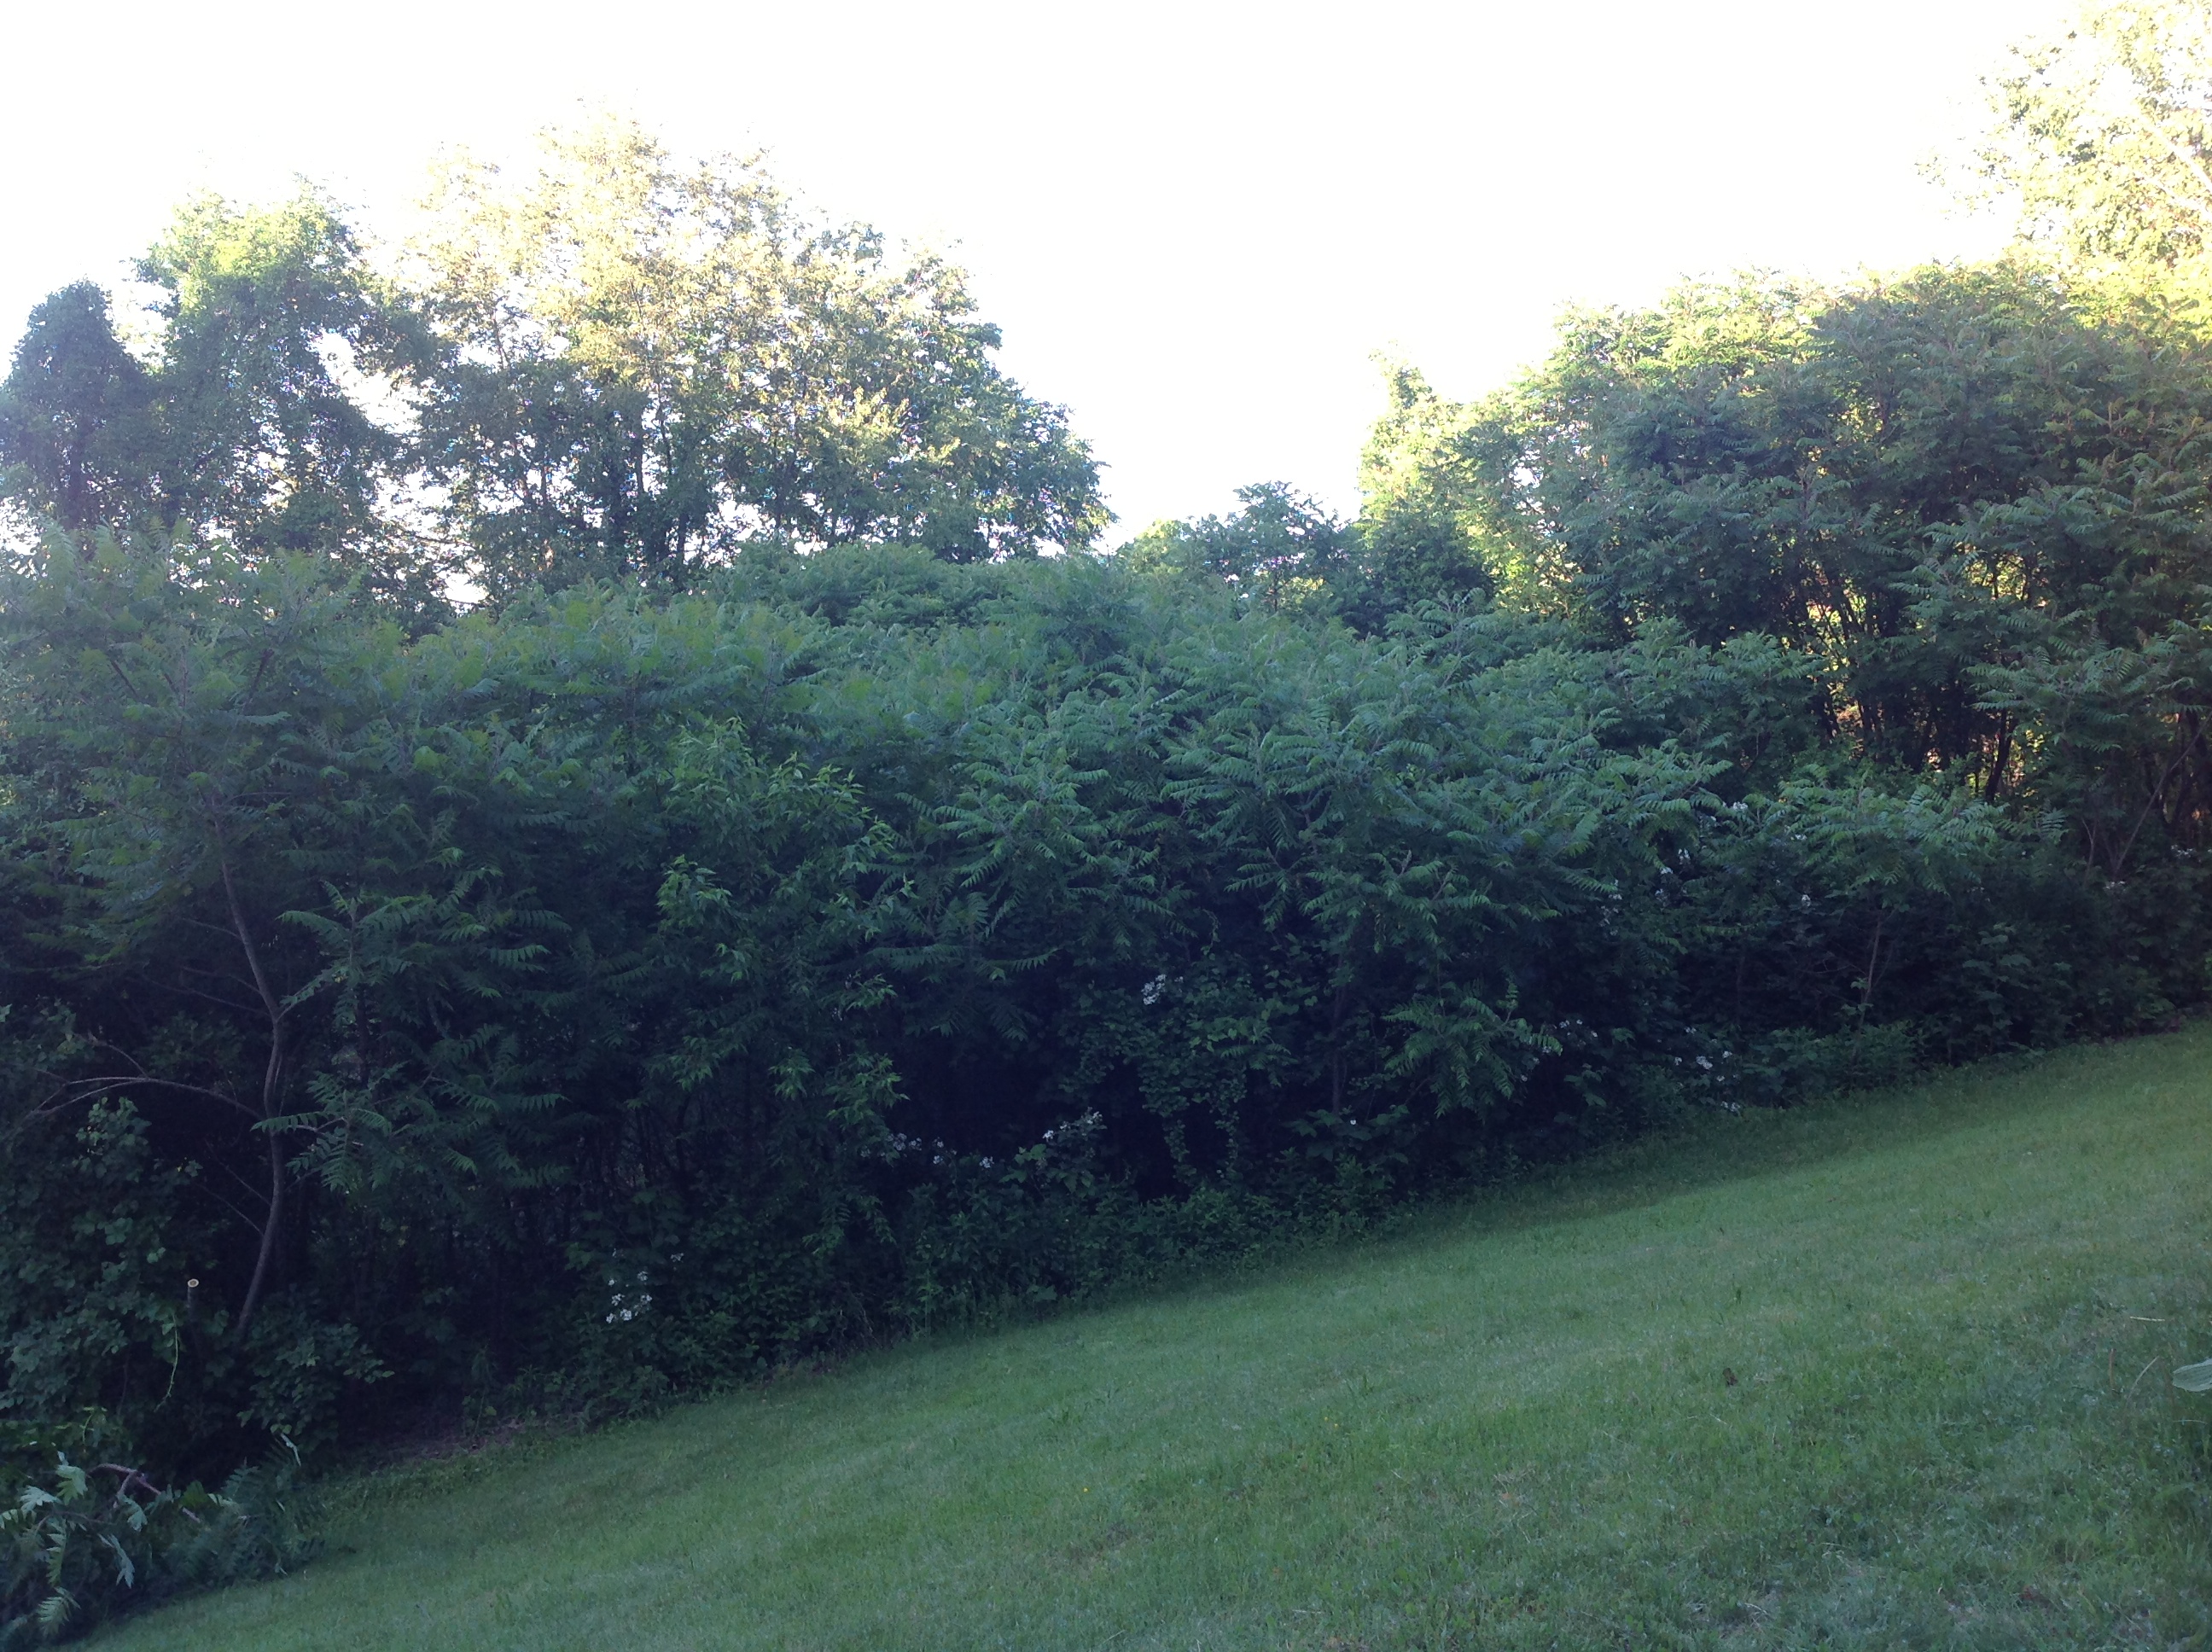
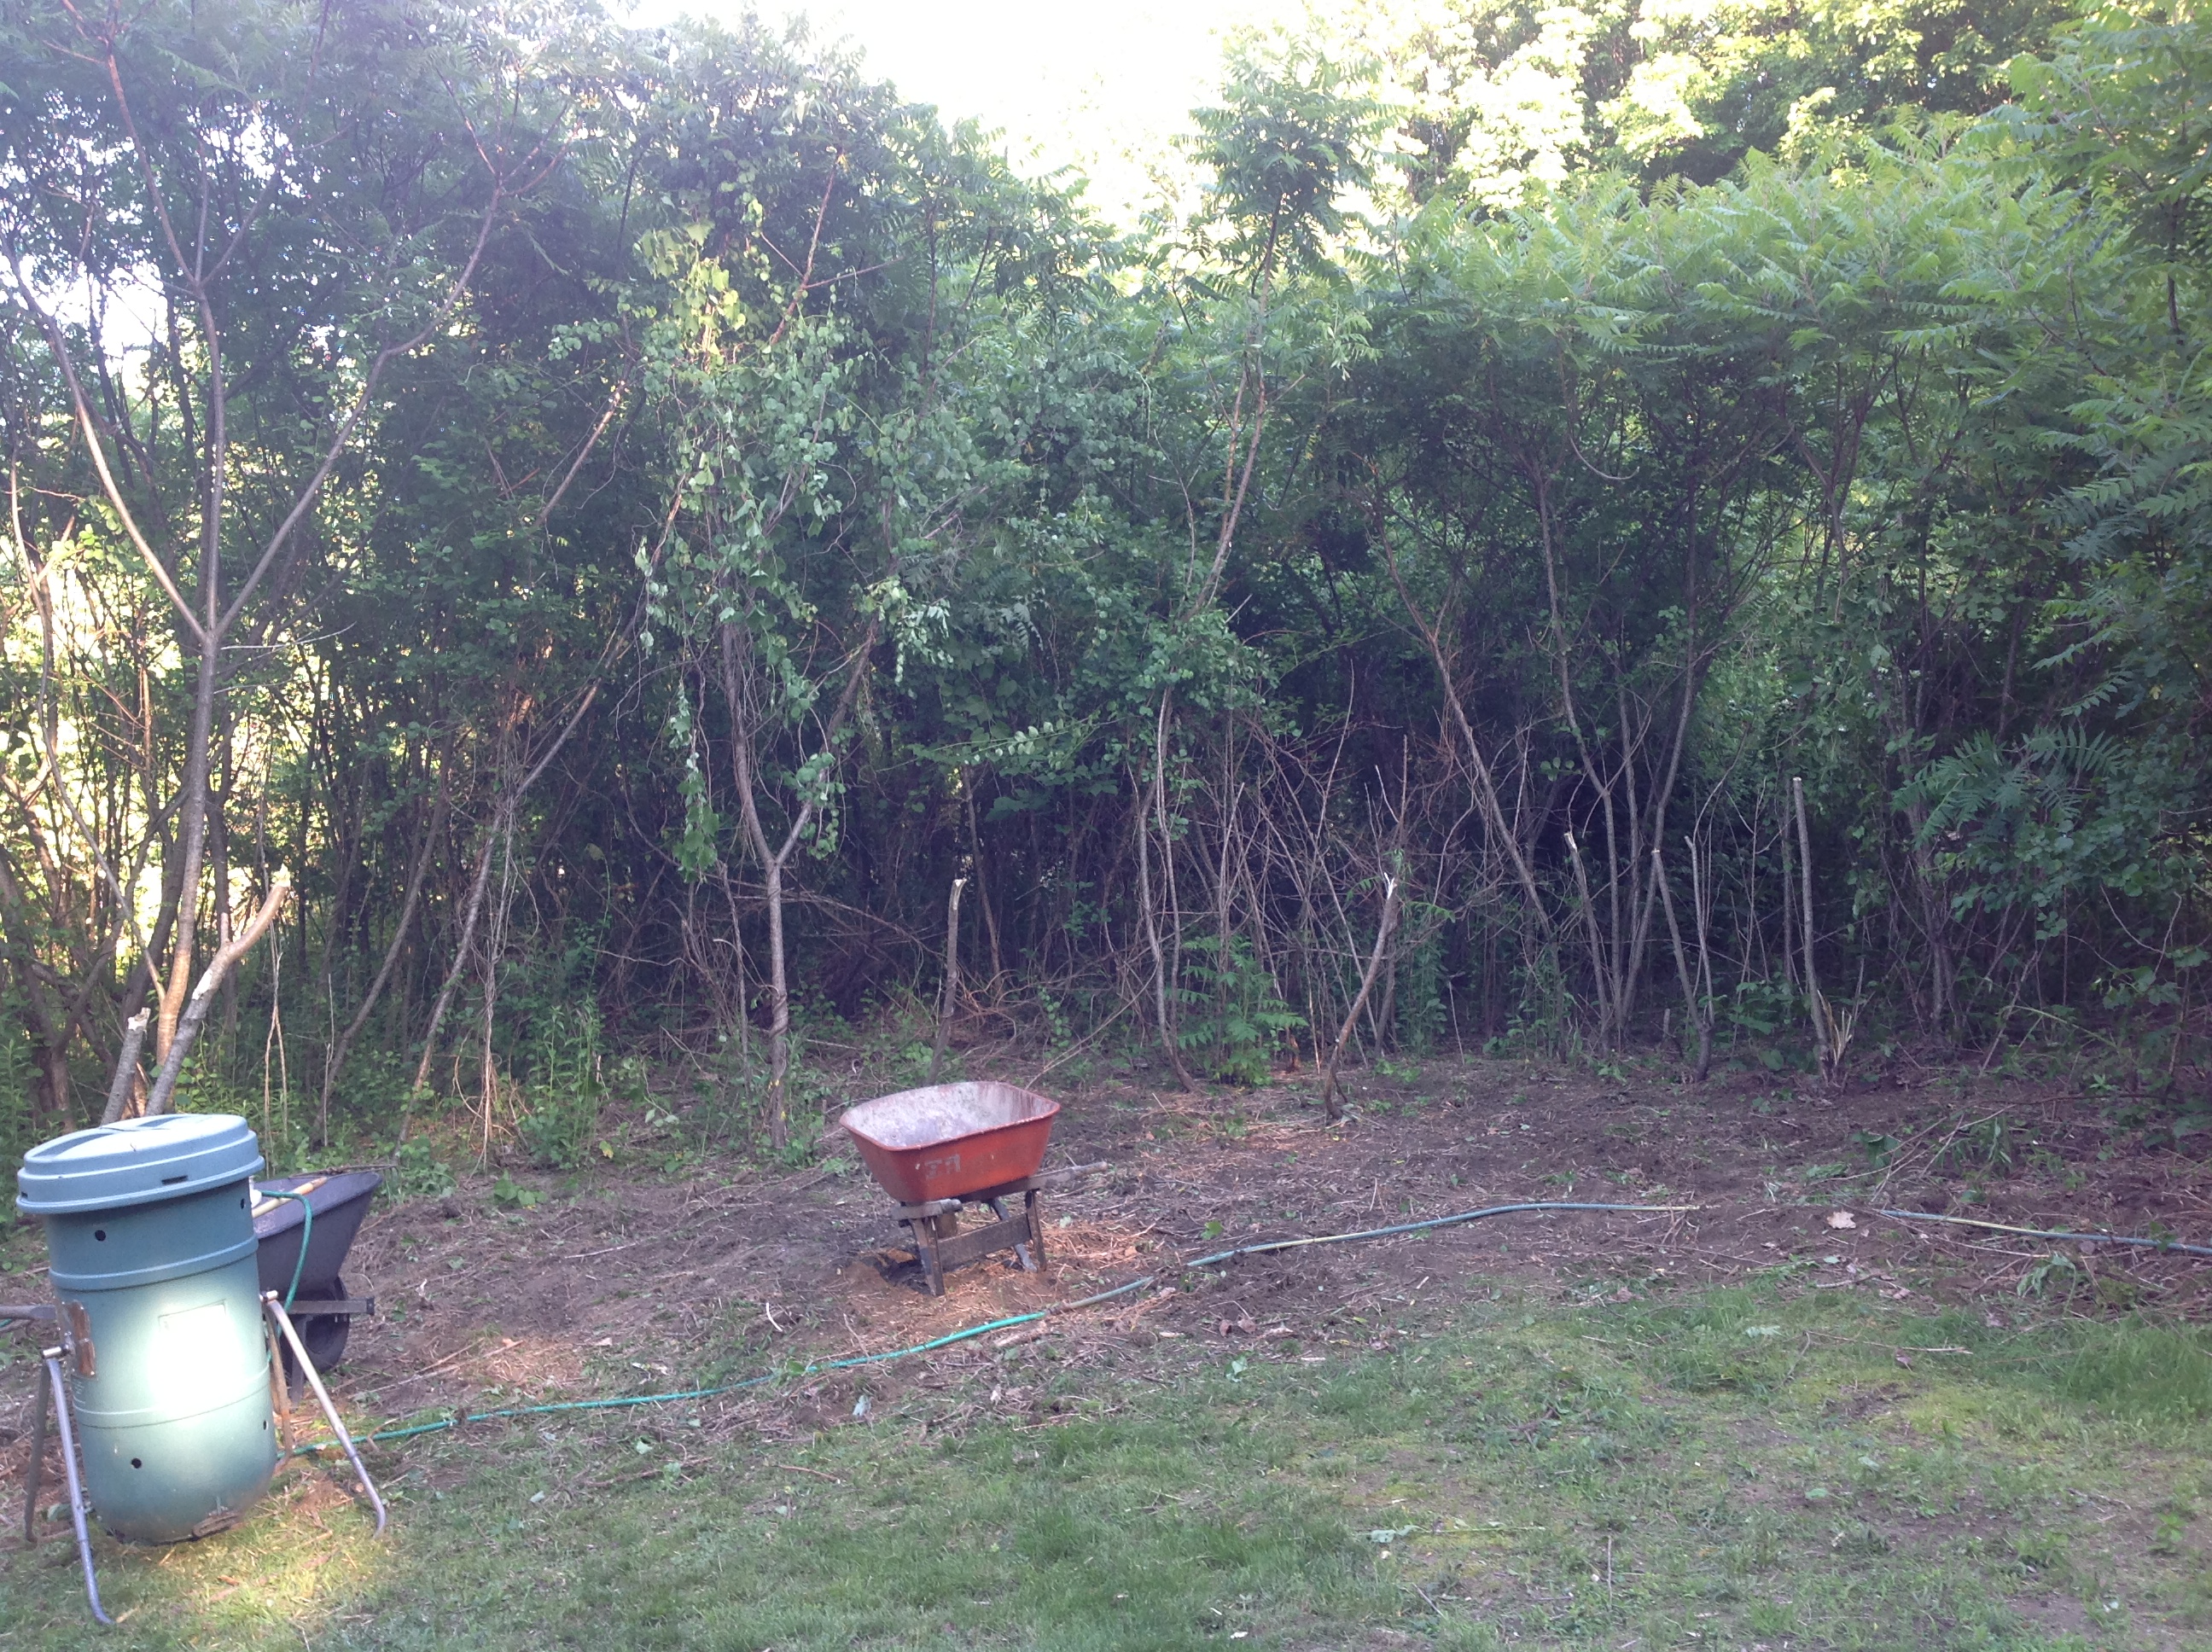
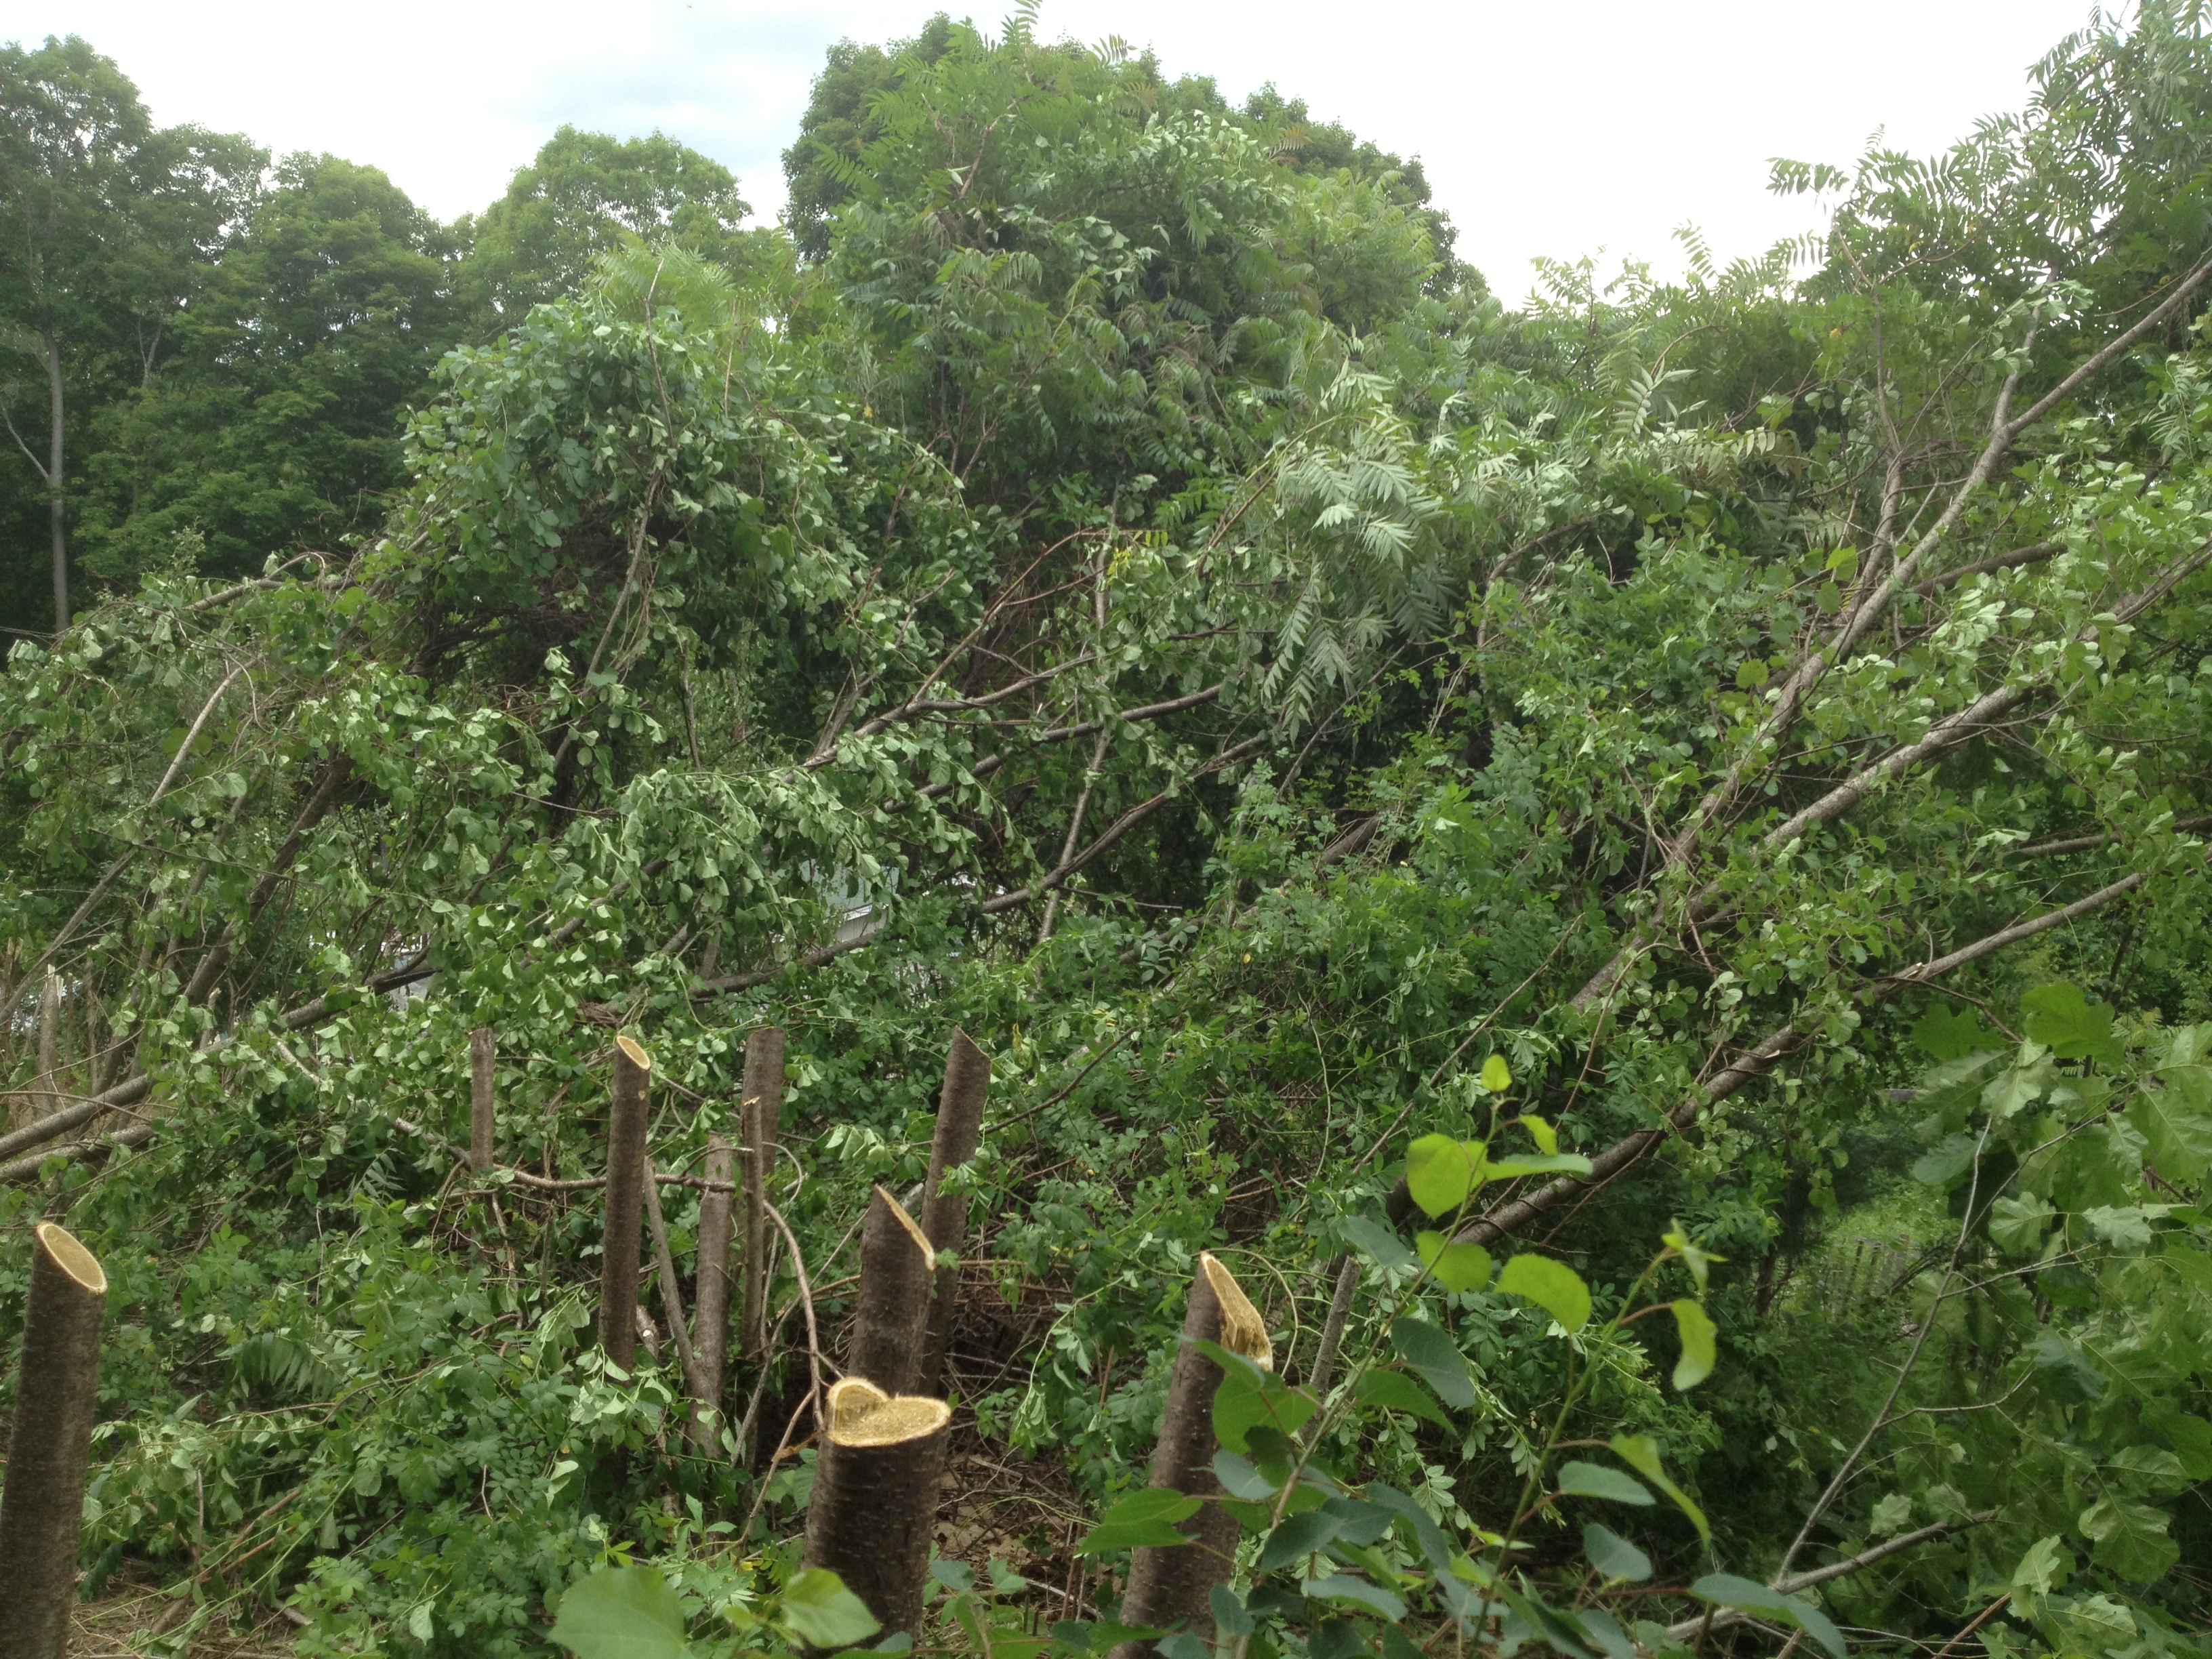
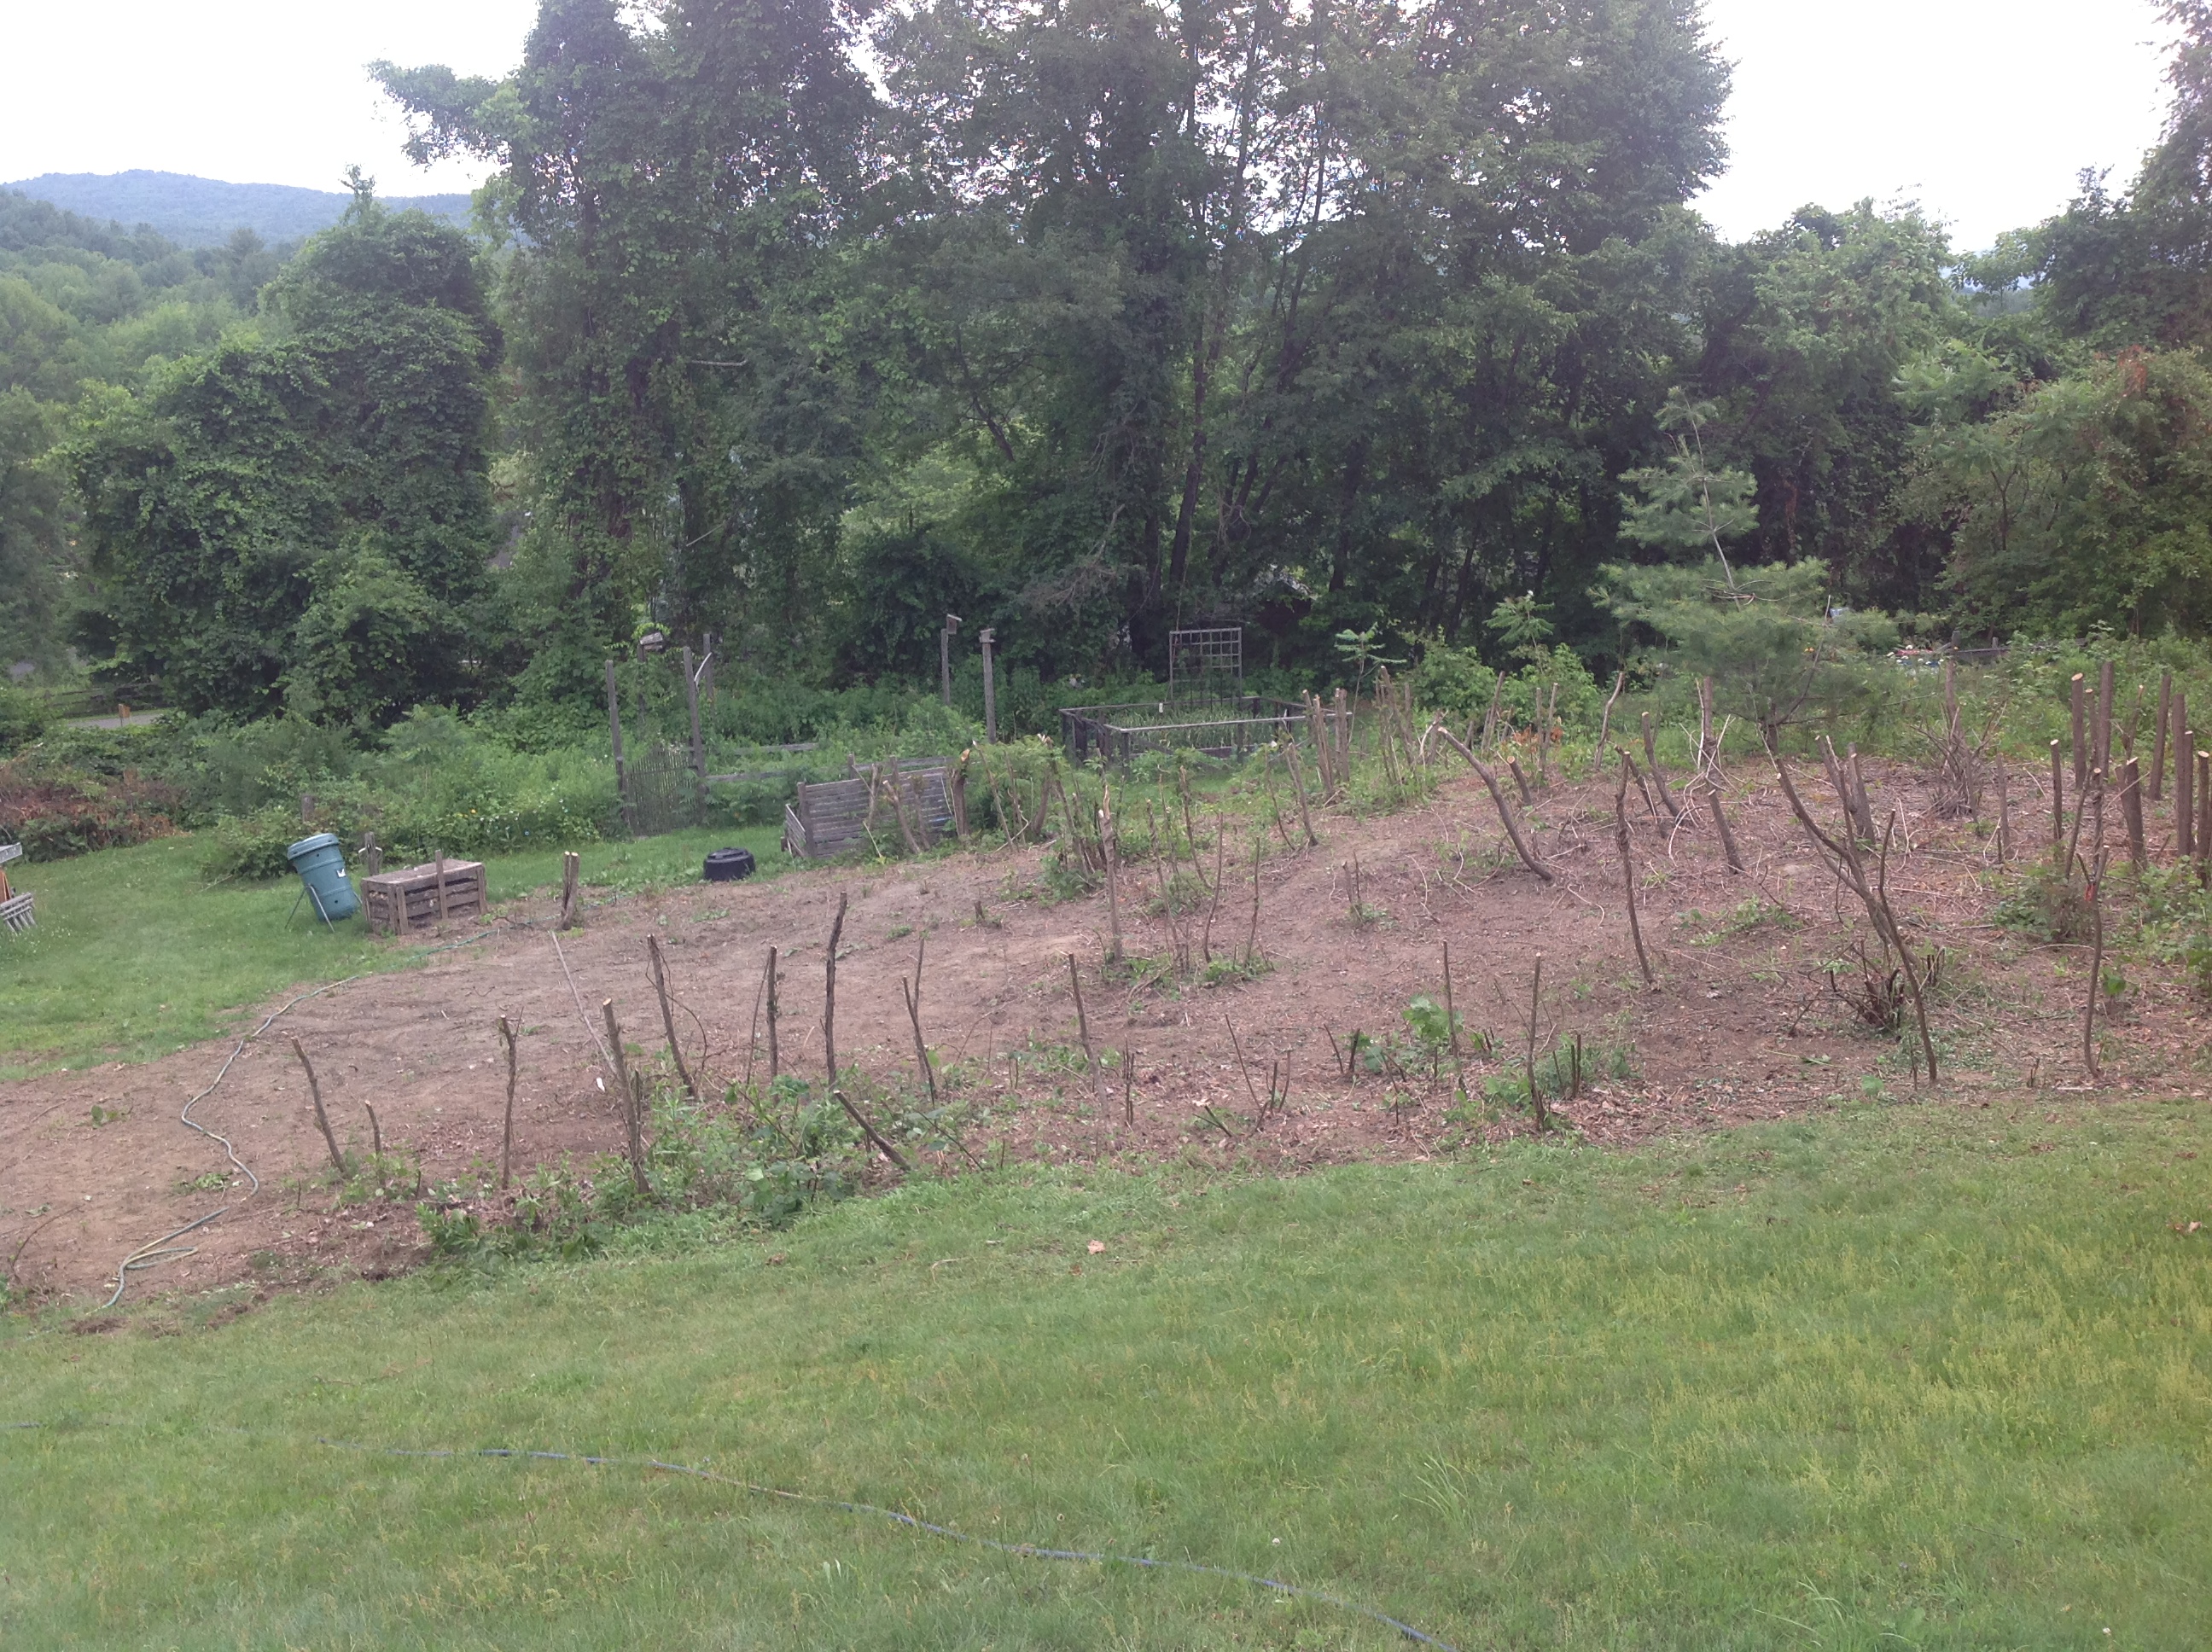
This weather has been intense. Our Sumac Deforestation project is on hold because I’m worried we’d all suffer from heat stroke. I’ve been fantasizing about moving somewhere near the arctic circle. That sounds nice and cool. Also rereading this post and this one from last summer. What are you doing to stay cool?

Leave a comment

Filed under 50 Recipes

My Garlic Twists to the Right

I do not consider myself directionally challenged, however when I harvested our garlic over the weekend it appears I have trouble with up and down. Look at the photo and notice how all the heads of garlic swing to the right. When you plant garlic you separate a head into individual cloves then stick them in the ground late fall – pointy end up. After that you forget about it all winter, snap off the scapes in the early summer, and harvest the bulbs in July (one clove grows into one head). It’s really pretty easy. Or so I thought until I began pulling up heads which were somewhat stuck because of their right hooks.

garlic that swings to the right

In our house we go through fifty pounds of garlic a year. You’d think we were brushing our teeth with it or suffered from a vampire infestation in the basement. If someone ever forced me to get rid of all the herbs in my cupboard  I would rip up the floorboards and jam heads of garlic down where no one could see. I would become a garlic horder.

Fall Garlic Planting

Our family uses garlic granulated, frozen, but most of all fresh. We slip it into almost every dish. So this past fall I committed to growing a serious crop of garlic to try and minimize what we buy at the farmer’s markets and stores. We shall see how long it lasts.

Garlic hanging on fence

Not all of my garlic was twisted. Heck, I didn’t even plant everything I harvested. There was a surprise crop (above) which volunteered itself from an old garden in our yard. We must have garlic elves in our yard looking out for our extreme garlicy needs.

Straight garlic

As I’ve mentioned before I am not the world’s best gardener. If you want to know more about growing garlic check out Margaret Roach’s blog. My seed garlic was purchased from Dan, the garlic guy, at the Amherst Farmer’s Market. Directional disclaimer – Dan’s instructions do say plant the garlic cloves pointy end up. So it wasn’t his fault this year’s garlic crop was wacky.

Midsummer harvest - garlic and lilies

After the garlic harvest I make a huge batch of pesto. The basil is usually ready (if I didn’t dawdle in the spring getting it planted) so I just have to make sure there are plenty of pine nuts and olive oil on hand. This is not a classic pesto where I carefully grind everything together with a giant mortar and pestle. Nope, my mini food processor does the trick – zip, zap, zoop.

Basil plugs ready to plant in spring

I’m not going to give you portions because everyone’s tolerance for garlic varies. We use 15-24 cloves of garlic for a small batch of pesto (2 cups) which might be overwhelming to some. My rule of thumb is have a loaf of bread next to you and taste as you go, adjusting the garlic-basil-olive oil-nut ratio.

Basic Pesto

Basic Pesto

Fresh garlic, peeled

Basil leaves

Pine Nuts (or almonds or walnuts)

Extra Virgin Olive Oil

Shredded Parmesan cheese (optional)

I start by putting in what seems a “normal” amount of garlic – 2-4 heads worth, depending on their size. We like our pesto to have bite. Fast spin in the food processor to roughly chop the garlic. Then in goes some olive oil and as many basil leaves as I can jam into my mini processor. Whizz some more and taste. Usually it takes several go rounds to add enough basil. I taste little spoonfuls of the evolving pesto on bread or plain crackers as I go. When it gets close to perfect I add the pine nuts, since they are soft and can disappear if you add them sooner. I pulse until they are chopped but haven’t disappeared. Throughout this process I drizzle in olive oil to keep the mixture slightly loose. It’s not soup (though you can add pesto to soups), nor should it be paste unless you’re planning on using it as such. You are in charge and running this food processor after all.

When it tastes good to you, scoop out the finished pesto and cover with a thin layer of olive oil to keep it from oxidizing. Or freeze in small containers (I sometimes use an ice cube tray), again with a small layer of olive oil on top. We add cheese at the table since some of us don’t do well with dairy.

Garlic harvest 2013

3 Comments

Filed under 50 Recipes

Treasure Among the Weeds

I think the all time scariest Dr. Who episode is Weeping Angels. Weeping Angels are stone statues who will kill you if you blink or look away. So don’t blink – don’t ever, ever blink. Sumac is the plant version of a weeping angel. Some people mistakenly think it is a decorative shrub, which is like saying weeping angels are just statues. While sumac may not kill you like a weeping angel would, you have to be careful because if ignored it will take over your yard. I’m not just talking a little bit, it will become the equivalent of a jungle. Plus it likes to invite its friends – other invasive species such as bittersweet and wild grapevine.

Sumac forest

Sure the birds love it. I will admit it does look pretty in the fall when its leaves turn a brilliant red. In certain cultures they cook with the dried sumac fruit. The architect Frank Lloyd Wright even used sumac as a design motif in one of his houses. Here’s the newsflash though – I am willing to bet cold, hard cash Mr. Wright never ever had to deal with a sumac invasion himself. Either he had a team of gardeners to prune and cut everything back or he left the sumac infected area to go design another house before the invasion became apparent.

wild rose bush

I vaguely remember my parents not liking the sumac in our neighbor’s yard. At that point though I was eighteen and didn’t understand their concern/disdain for the plant. Then twenty years ago my husband and I moved to our house and decided there was really too much lawn to mow. So we seeded a wildflower garden. That was pretty for a few years. While we were lulled into those first few years of flowery abundance the sumac saw its chance. It crept underground from the edges of our property to this open field we had created and started sprouting up. We ignored it because we were busy with other things. So the sumac grew and Grew and GREW. Suddenly we realized we could no longer see our garden or the beehives. In fact the garden itself was getting a lot less sun than it used to. Our wintertime sledding hill had become a dense maze of sumac trunks. We had done the long, slow blink, and the sumac had taken over.

wild black raspberries

So 2013 has become the summer of what I am calling The Sumac Deforestation Project. My kids and some of their friends have been hacking, chopping, digging, pulling, and uprooting all the invasive plants that have done their best to take over our yard. Along the way we’ve come across a few treasures among the weeds. These include clumps of blackberry vines, wild rose bushes, some really delicious black raspberries which we’ve been munching this last week, and an awesome blue stone which will eventually become a step into the playhouse. So deep in the forest of sumac there have been a few jewels, they just haven’t been spectacular enough to justify maintaining the invasive forest.

starting to cut back the sumac

sumac cut and ready to clear

almost cleared field

moving the blue stone

unloading the blue stone

So thanks Isabelle, Russell, Eamon, Addie, Milo, and Shawn. The deforestation project is coming along nicely.

Oh and those black raspberries I mentioned? They’re going on some buttermilk waffles with a drizzle of maple syrup – yum!

Buttermilk waffles with black raspberries

2 Comments

Filed under In between

Gilding with Strawberries and Chocolate

16 candles

Somebody in our house turned sixteen this past week.

You might think summer is the ideal time to have a birthday, but in many ways it’s not – at least not while you’re a kid or teenager. Summer birthdays can be a pain. The thermometer usually reads in the 90s which means icing and ice cream tend to melt. School’s out so many of your friends are away at camp. Even if your school is really thoughtful and tries to celebrate folks who have summer birthdays with a half birthday it doesn’t always work out. Not if your real birthday is after graduation and your half birthday is during Christmas vacation. So someone in our house hasn’t had a friend birthday party in a while, but he has always had a family birthday party.

the birthday hat

In our house the family birthday means four things. One is you get to choose the dinner menu. Two you must wear the hat. Three you will get a cake, and four we will sing you the song. The exception to these birthday rules is our dog Oliver. He gets a partially cooked hamburger instead of a cake and doesn’t have to wear the hat since his head is so small. Of course that means he has a Pavlovian reaction anytime we sing the song since he now associates it with hamburger. What can I say? He’s smart, but not smart enough to know that not every birthday is his birthday.

strawberry chocolate cake

So for Russell’s birthday this year I got up early to bake the world’s best chocolate cake. I just wasn’t sure how to decorate it and the birthday boy had given me free range in the icing department. Fortunately his godfather Rick Ellis called mid-morning to talk to the birthday boy. After wishing him a happy birthday he asked what kind of cake Russell was having. My son’s response was, “I don’t know. I think it’s something chocolate-you should talk to my Mom.” For those of you new to this blog I should mention Rick is an amazing food stylist, a fantabulous cook, and always has inspired recipe ideas.

chocolate cake chilling

Developing a recipe or food concept with Rick is like playing food ping-pong. We talked about what was in my fridge (strawberries, heavy cream, and a jar of raspberry jam) and cupboards (lots of chocolate, several different kinds of cocoa, and some honey), what Russell liked (pretty much anything), and then Rick pondered. For all of 30 seconds. Since strawberries tend to weep (let their juices out) when they have been cut Rick suggested a layer of raspberry jam on top of the bottom layer of cake with the cut strawberries nestled into the jam. Thus solving the weeping problem. If raspberries had been in season we could have used them, plus if I’d had an open jar of strawberry jam it would have worked too. Once the fruit component was in place Rick wanted me to add the second layer of cake and frost the entire outside with chocolate buttercream. To gild the proverbial lily, just before serving the cake I drizzled chocolate ganache over the the chilled cake. Brilliant, over the top summer birthday cake. Perfect for a sixteen-year-old.

Chocolate ganache frosting

Here’s what you’ll need to make an Over the Top Chocolate Cake.

  • 1 baked and cooled Chocolate Cake, click here for the recipe
  • 1 – 1  1/2 pints strawberries, tops removed and cut in half
  • raspberry jam
  • chocolate buttercream (I made mine from a half batch of this recipe substituting some Valrhona cocoa for part of the powdered sugar)
  • chocolate ganache

Place cake on a cake plate, spreading jam on top of first layer. Add strawberries (the amount will vary depending on if you make an 8″, 9″ or 10″ cake). Top with second layer and frost outside with chocolate buttercream. Refrigerate. Just before serving pour cooled chocolate ganache over the top, letting it run over the sides and puddle along the bottom. Add candles and sing the song.

Chocolate Ganache

4 ounces bittersweet chocolate, finely chopped

4 1/2 ounces heavy cream

2-3 heaping teaspoons honey

1 1/2 teaspoons butter

Bring the heavy cream to a boil and add the honey. Pour over chocolate and stir until the chocolate is melted. Add the butter and let cool till pourable being careful it’s not too hot that it melts the chocolate buttercream.

lighting the cake

6 Comments

Filed under 50 Recipes

Hand Held Salad

I’ve been on a roll lately – Vietnamese Spring Roll that is. It started because we had one of those wicked curve balls mother nature loves to throw at New England in late spring. Between mud season and summer we get slammed with a few beastly hot days. Hot enough to make your brain so fried you only think about finding a swimming hole and all the ways to not cook dinner.

After the mini heat wave I had to make food for a few events where there were folks who couldn’t eat gluten. My answer again was platters of Vietnamese spring rolls. Loads of crunchy vegetables and rice noodles wrapped inside a paper-thin pieces of rice paper. They fit the gluten free (and vegan) needs beautifully. 

I also love them because similarly to make-your-own pizzas or maple syrup sundaes you can customize them to anyone’s taste. If you make them small enough so there isn’t any double dipping, they are a great addition to a casual outdoor party. You can also eat them with your hands so I give them a high-five for being fabulous finger food!

vietnamese spring rolls

The secret to Vietnamese spring rolls is prep, prep, and more prep. You really can’t start assembling them until all your ingredients are washed, sliced, and diced. I use my Japanese mandoline for much of the julienne work. Mostly my fillings are based on a hunt through the fridge and garden to see what is available at that moment. If I’m out of scallions I use red onion. My son Russell doesn’t like avocados or mint so I leave then out of his rolls. The noodles don’t need to be cooked – just soaked in hot water for several minutes then drained. If the rolls are more of a dinner item than hors d’oeuvre add a little protein with  either cooked shrimp or tofu. The possibilities are endless.

Fresh Spring Rolls

Carrots, julienned

Hydroponic Cucumber, julienned (I use the skin, but not the seed part)

Mint leaves

Avocados, thinly sliced

Scallions, thinly sliced

Lettuce or baby greens

Rice Noodles, soaked in hot water then drained

Red Onion, thinly sliced

Cooked Shrimp, sliced in half

Firm Tofu, drained and sliced in batons

Spring Roll Papers

Dipping Sauce (we use sweet chili sauce)

making spring rolls

Bowls of prepped vegetables ready to roll

I find these easiest to make one at a time. I wet some paper towels and place them on my work surface then dip a rice paper into the bowl of water making sure all of it gets wet. Don’t leave it to swim. Just dip in, pull out and let drip, then lay it down on the paper towel. It only takes a few seconds. As it starts softening from the water you can start building.

If you want to see a step by step tutorial check out the White on Rice Couple’s blog post on spring roll assembly. I like to close both ends, but if you want to try Diane’s version with one end open go right ahead. Another thing to keep in mind is whatever you put down first will be what shows through the rice paper so if you’re going for pretty build accordingly.

It’s a good idea to put some of the softer foods next to the delicate rice paper to minimize (or hopefully eliminate) tearing. Which means save the carrot sticks for the middle. If, despite your best efforts the spring roll tears when your rolling it up then you have cook’s prerogative to taste test.

rice noodles and wrappers

The choices of spring roll skins is pretty vast. I find them at supermarkets, co-ops, natural food stores, and my international market. The skins are hard discs until soaked in water which means when you store them you want to keep them from getting damp, so don’t forget to seal your ziplock bags tight!

vietnamese spring rolls and dipping sauceI’d love to hear what your favorite combinations are.

8 Comments

Filed under 50 Recipes